Create tile ornaments for your Christmas Tree!
Turn tiles into holiday Ornaments!


Each year our son comes home with an ornament for our Christmas tree from his school. This year was no exception. In the past, they were foam pieces glued together carefully. But a few years ago, his teacher used one of my favorite Christmas ornament mediums, tiles! Yes, tiles that you can easily get from Home Depot or Lowes in bulk on a mesh backing. While his teacher used the tiles linked in the last sentence, in the past I’ve used some funky lantern shaped tiles to create ornament gifts for family and friends. Follow along to see how to make these ornaments last for years to come!

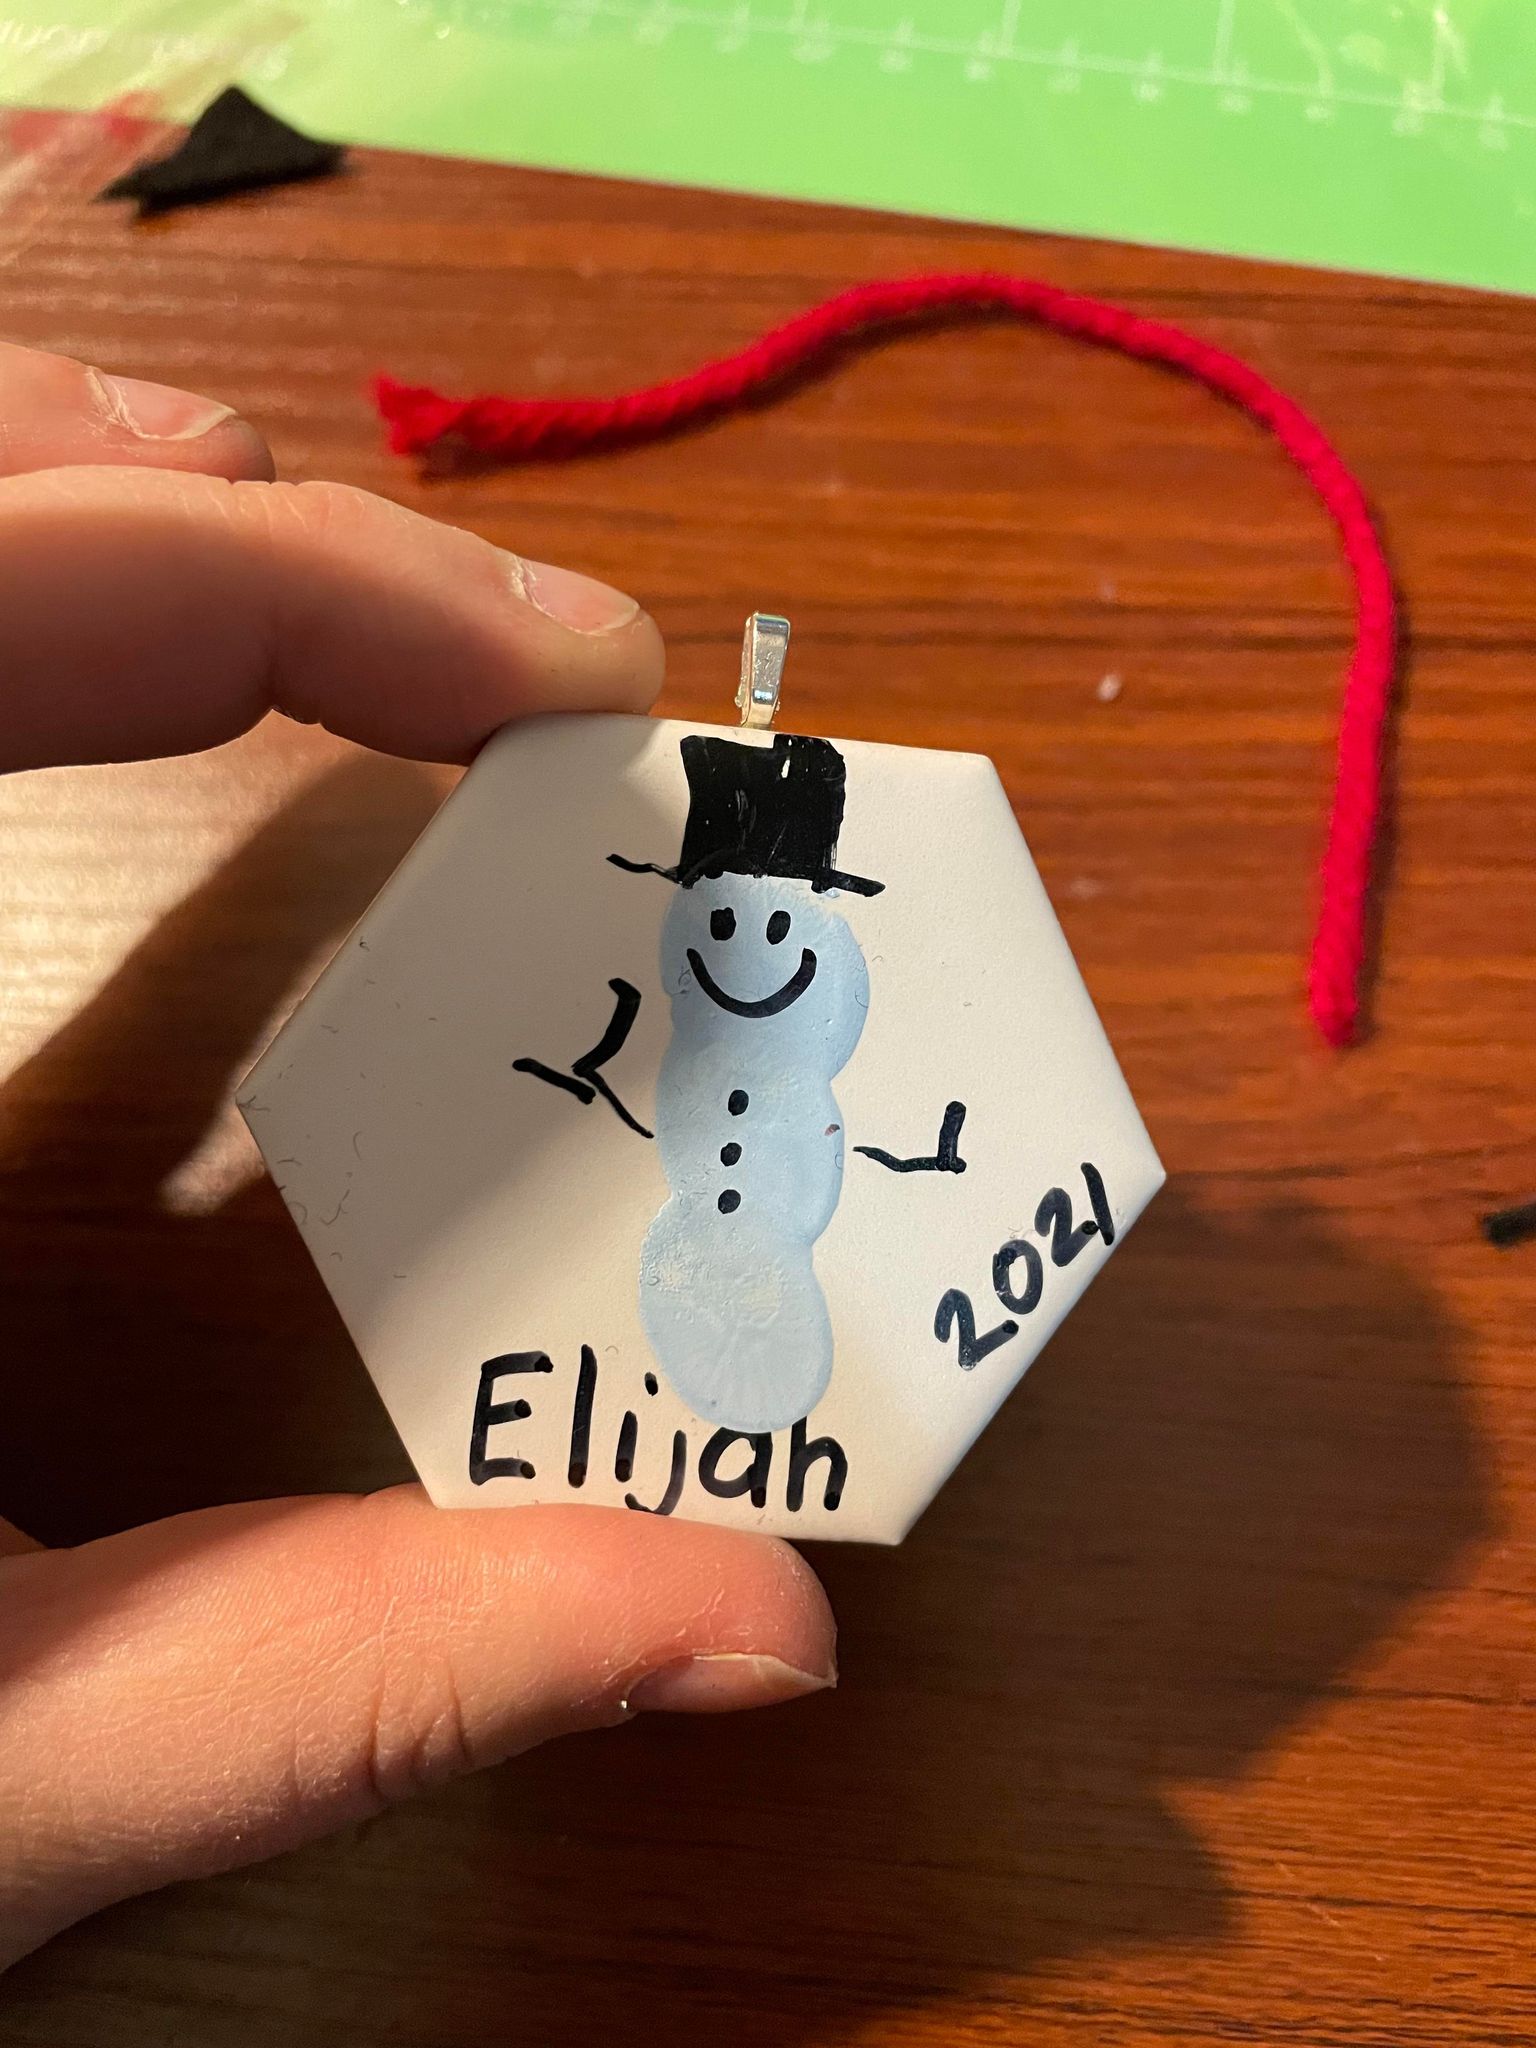
So my son comes home with a lovely hexagonal tile piece. Their class used paint and their finger prints to create small snowmen on the tiles and then the teacher added their names and the year. Super cute! For the image above, I created a design using Designspace on my Cricut with permanent glittery vinyl. But what I noticed is that my son’s tile had a loop of yarn to hang it up with, that was just stuck to the tile with tape. Not exactly ideal for a long lasting ornament (if that tape fails it would come crashing down!). So, I decided to take matters into my own hands.
For this project you will need:
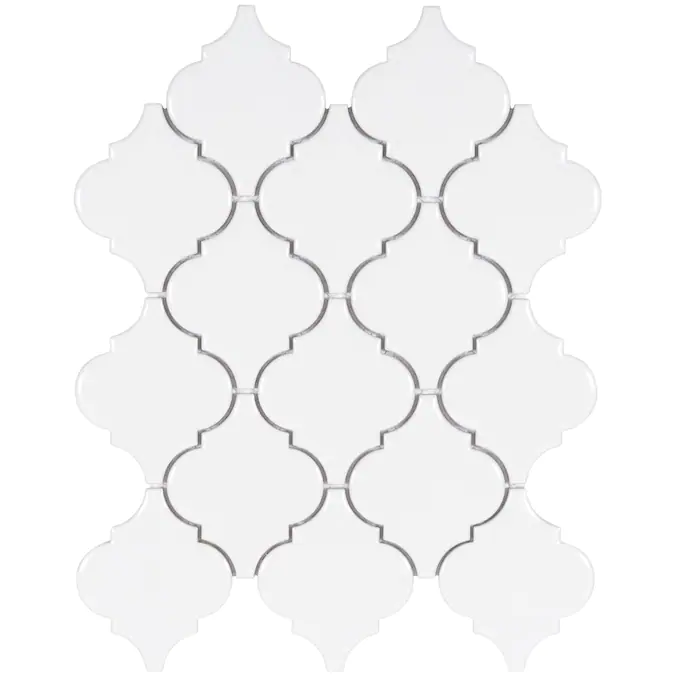
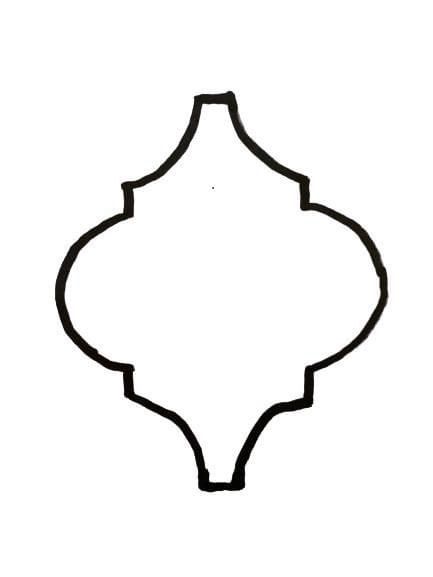
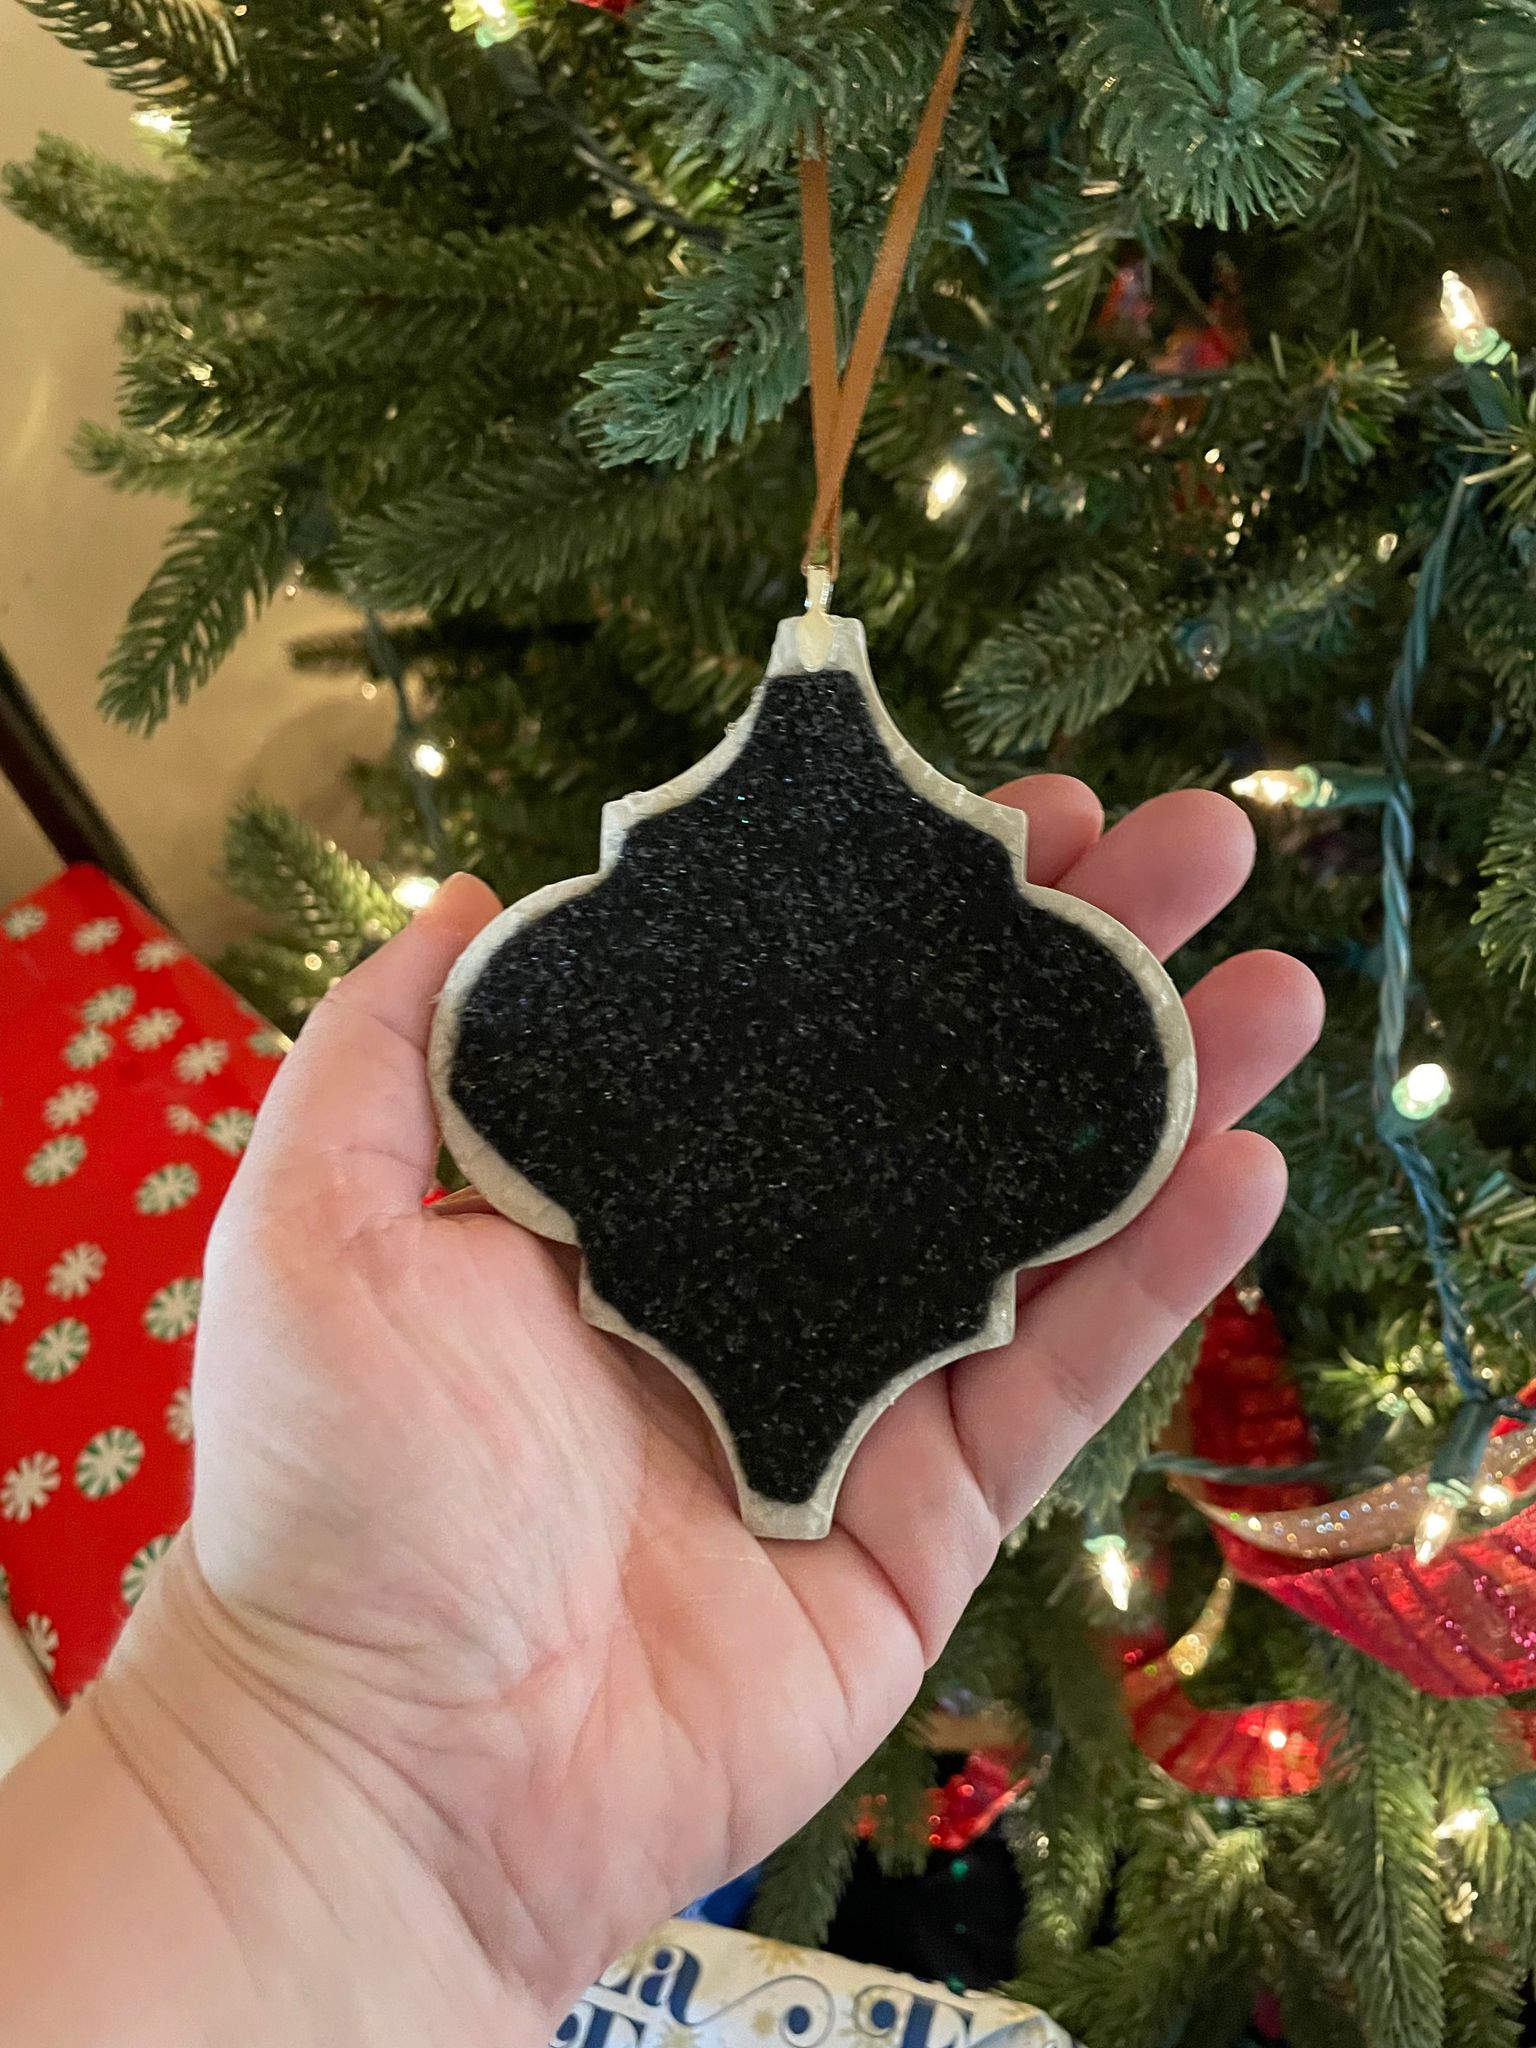
- Tiles of your choosing (2 inch hexagonal tiles are linked above, you can also use the Arabesque style tiles by Satori, they work well!)
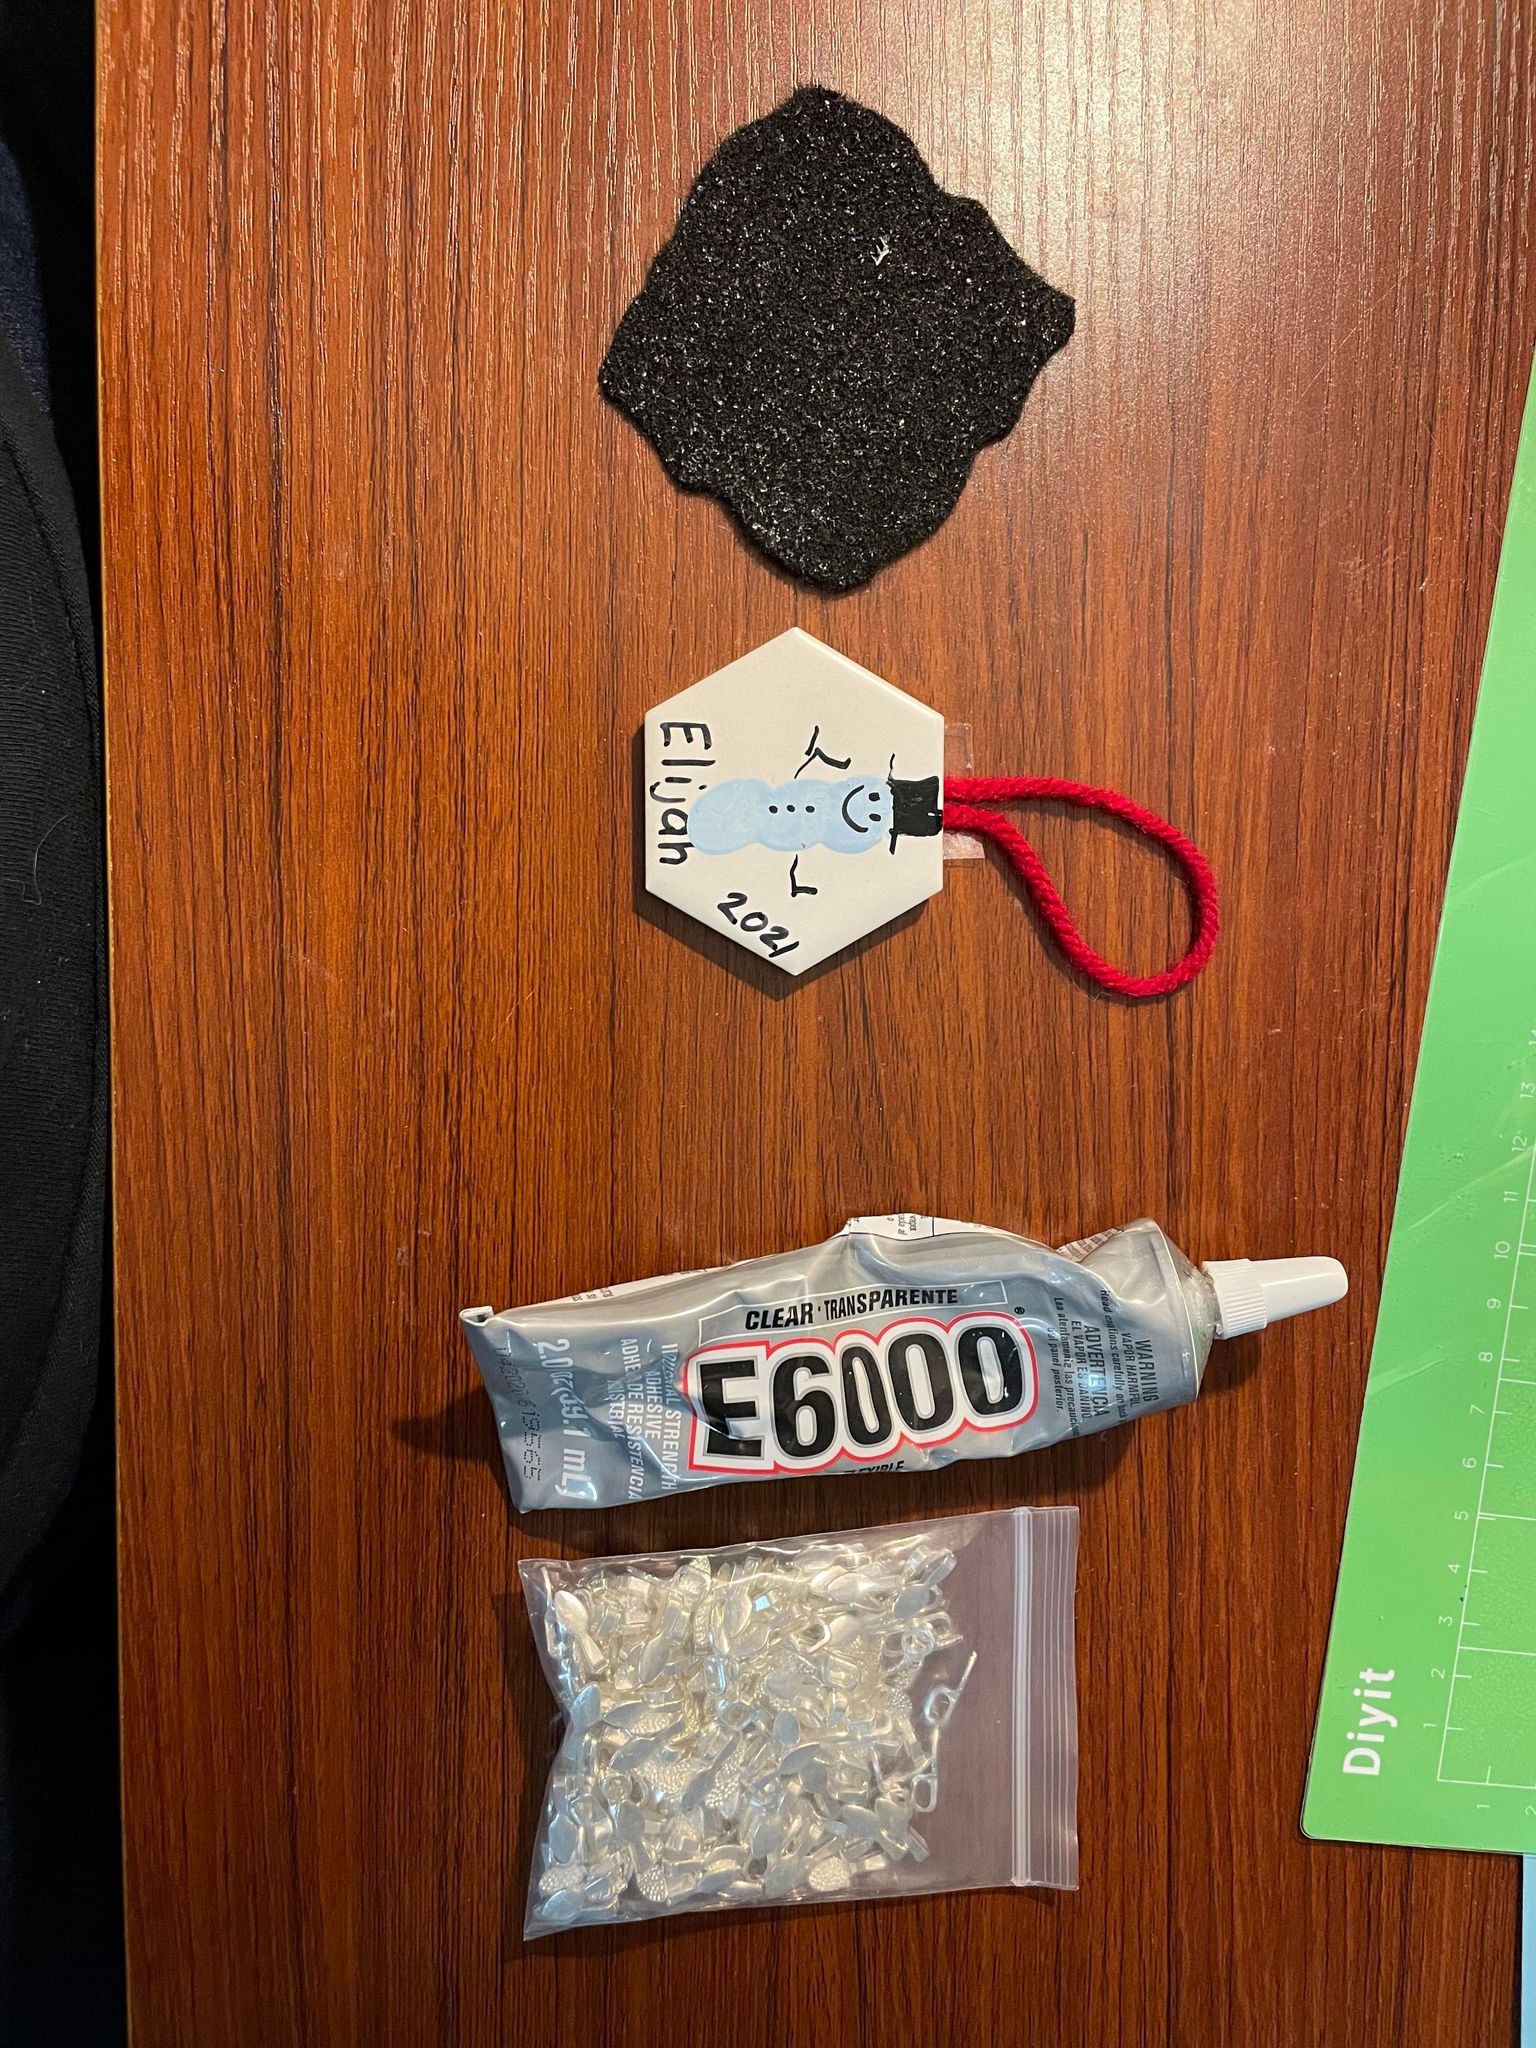
- E6000 glue (available on amazon or at any craft store)
- Bails to hang the ornament from (I used these, but you can use any color/style you prefer)
- String, ribbon or Yarn to hang your ornament
- A design to put on your ornament (You can choose to DIY with paints like my son’s teacher did, or use your cutting machine to make a fun design in permanent vinyl!)
- Scissors
- Felt
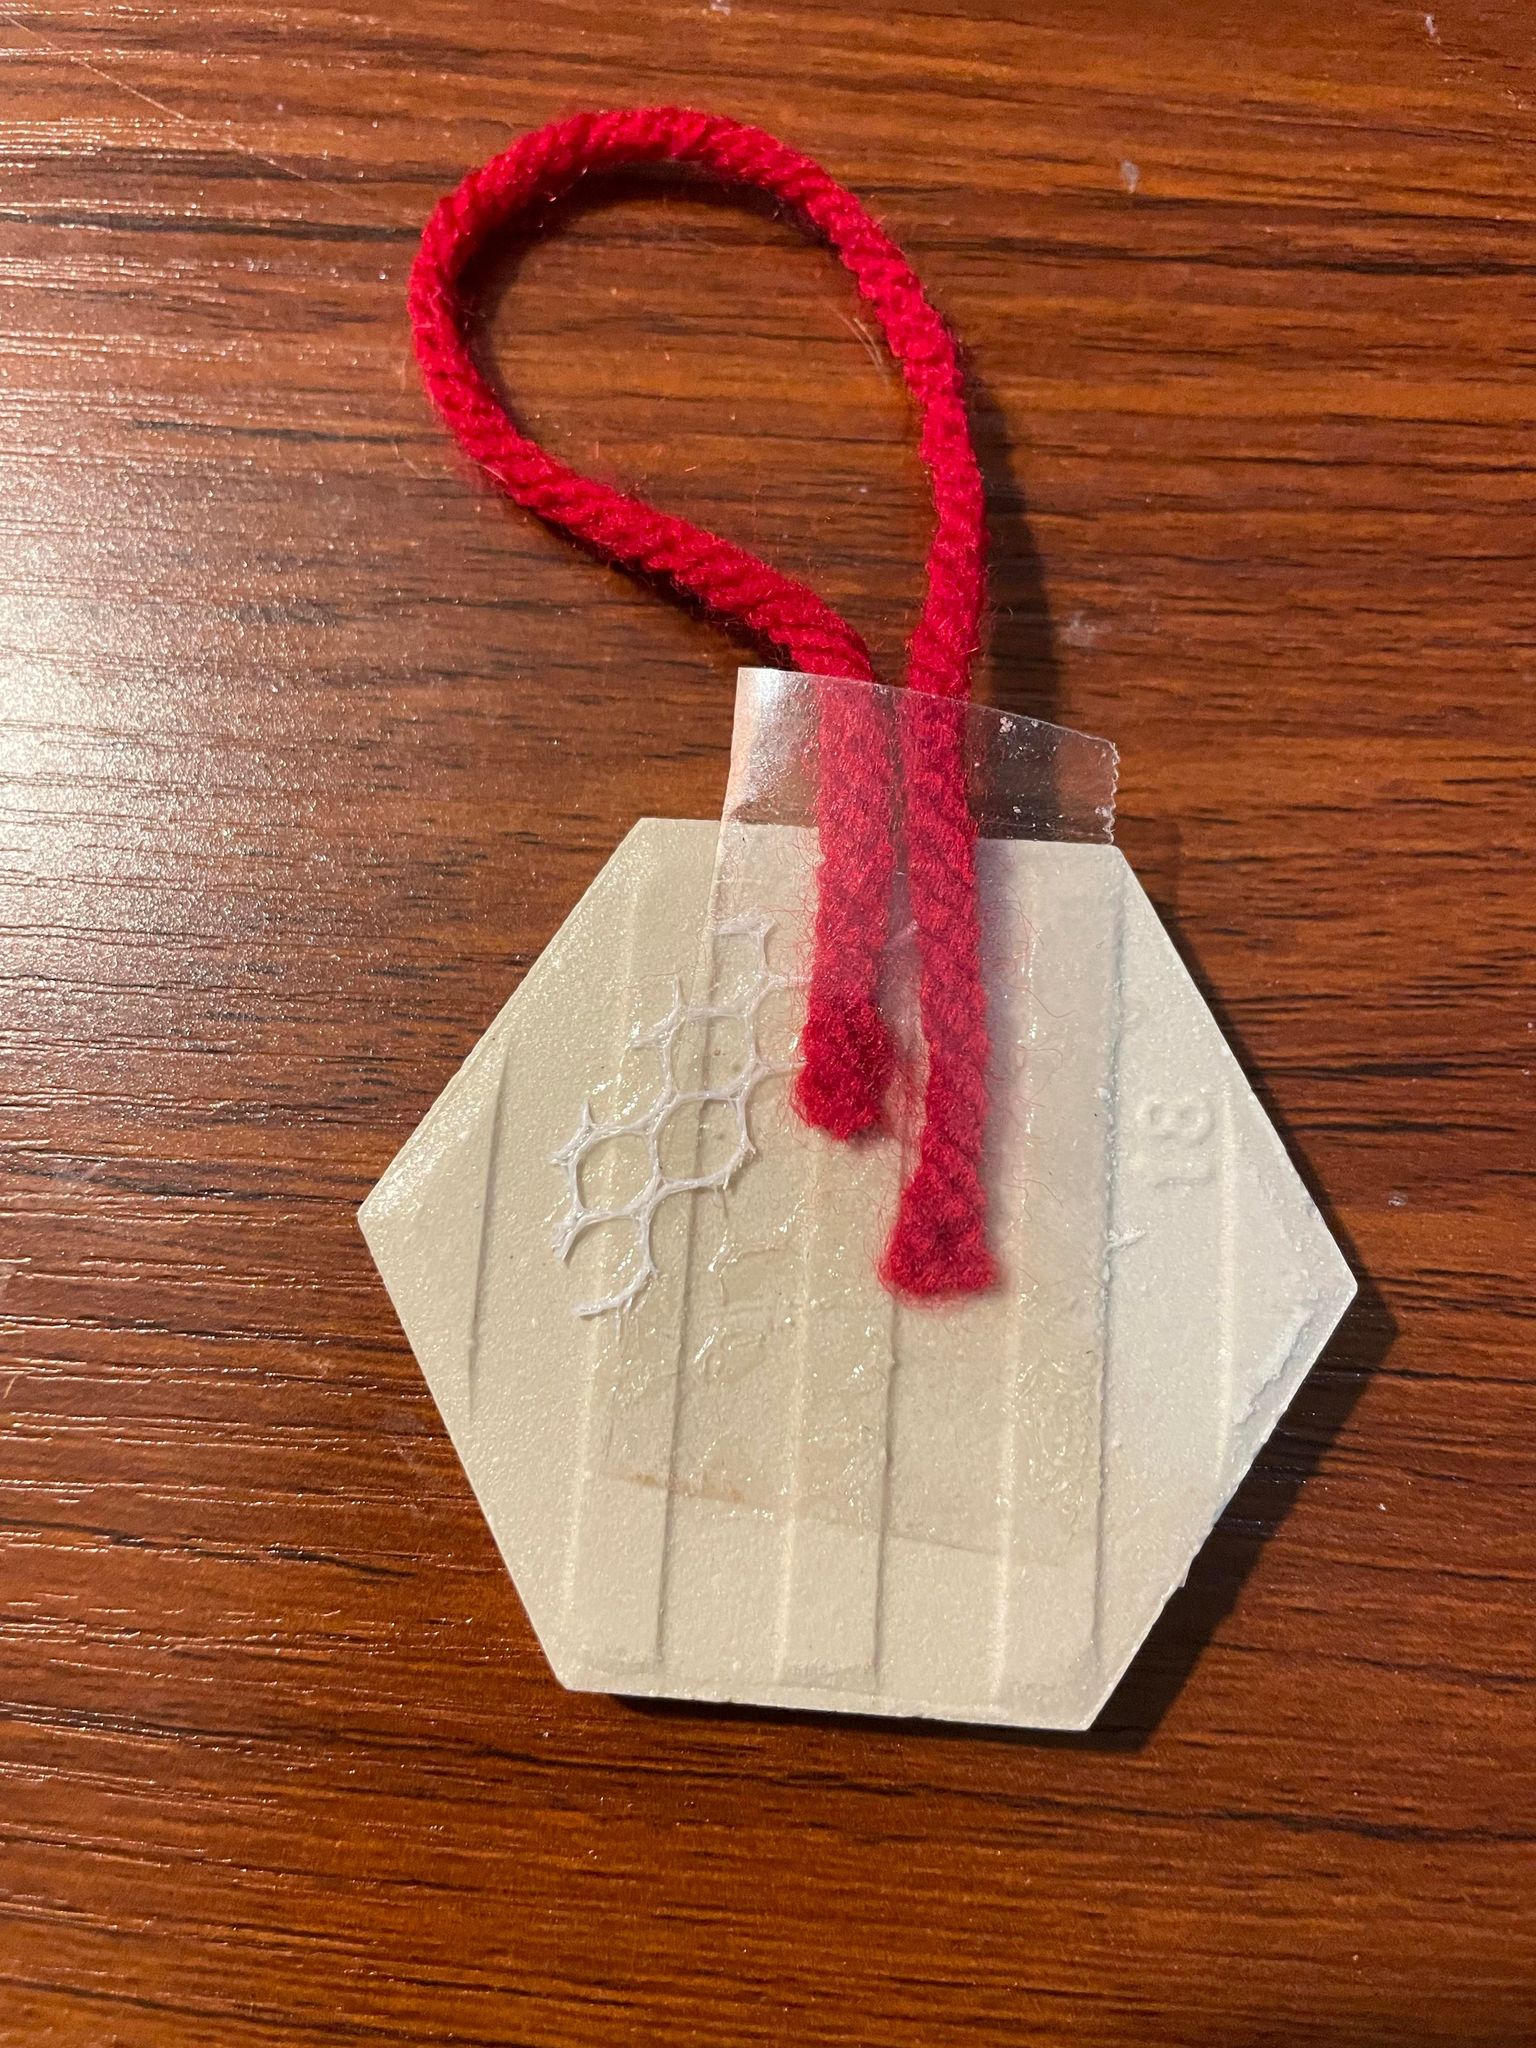
Start by tearing your tile off of the mesh backing. It’s easier to work with that way. All the mesh might not come off, and that’s fine. We will add felt as a finishing touch to make the back seem less “tile” and more “ornament”.
Next, put your design of choice on your tile! Use paints to create fingerprint snowmen, use a cutting machine to make a personalized design that speaks to you and your family. It’s really up to you, whatever you would like to create!
Once the paint is dry or your design is secure on the tile, take a piece of felt and cut it to match the tile design. You can use a cutting machine with an image like the one below, or free cut from scrap felt you have lying around (like I did!).
It doesn’t necessarily need to be perfect.
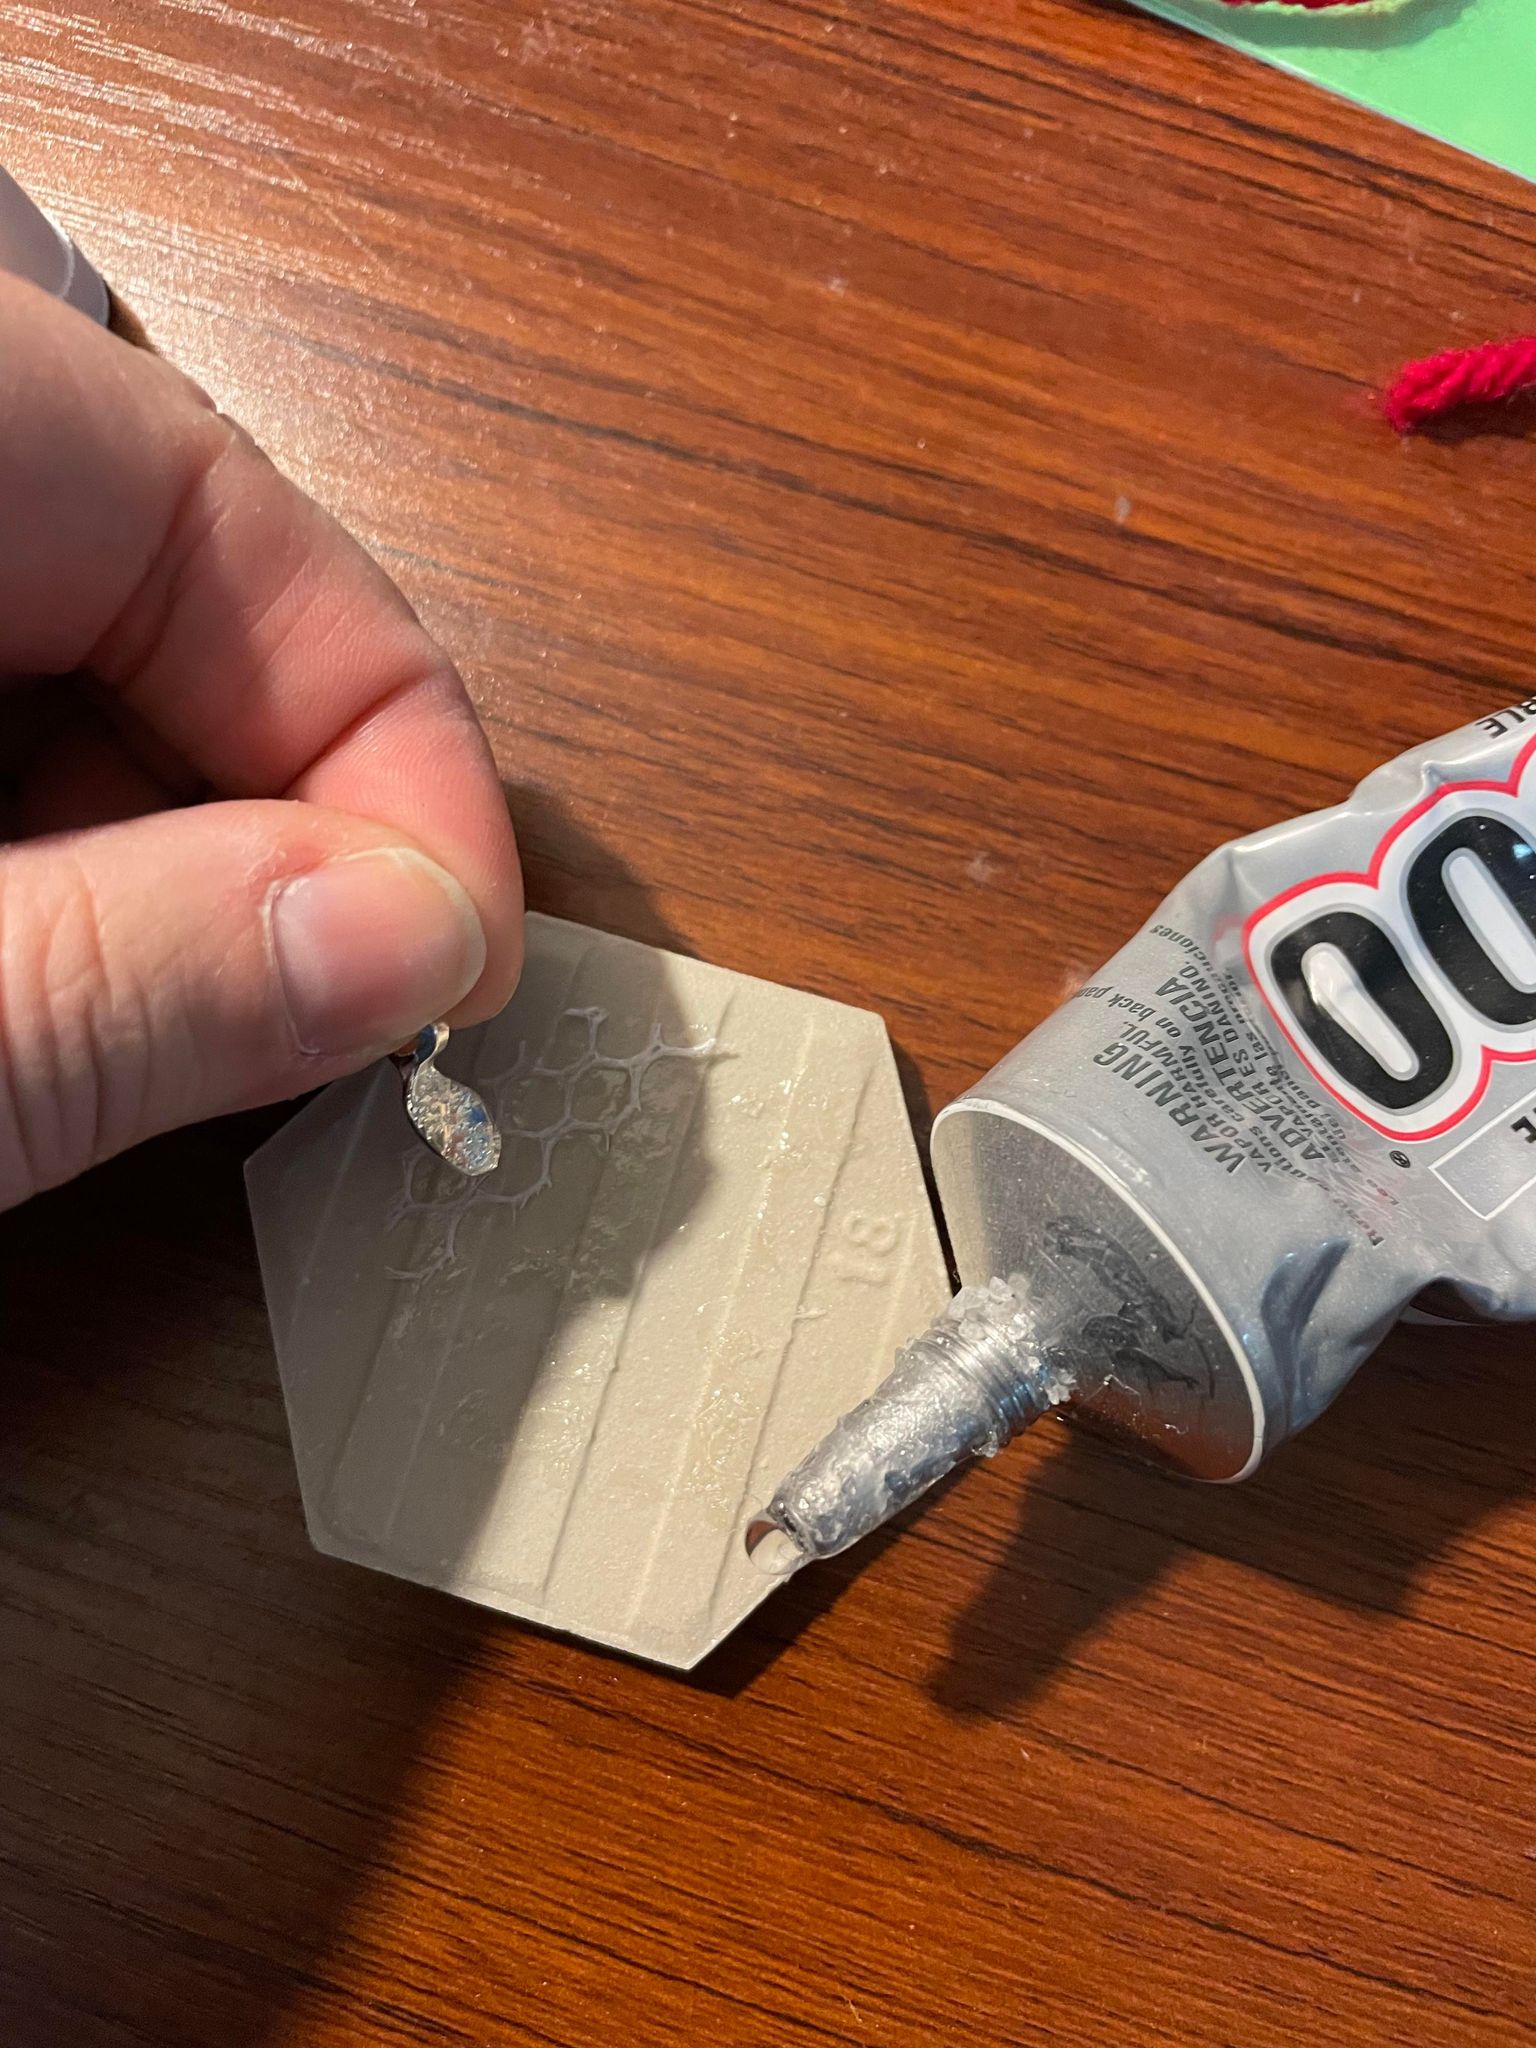
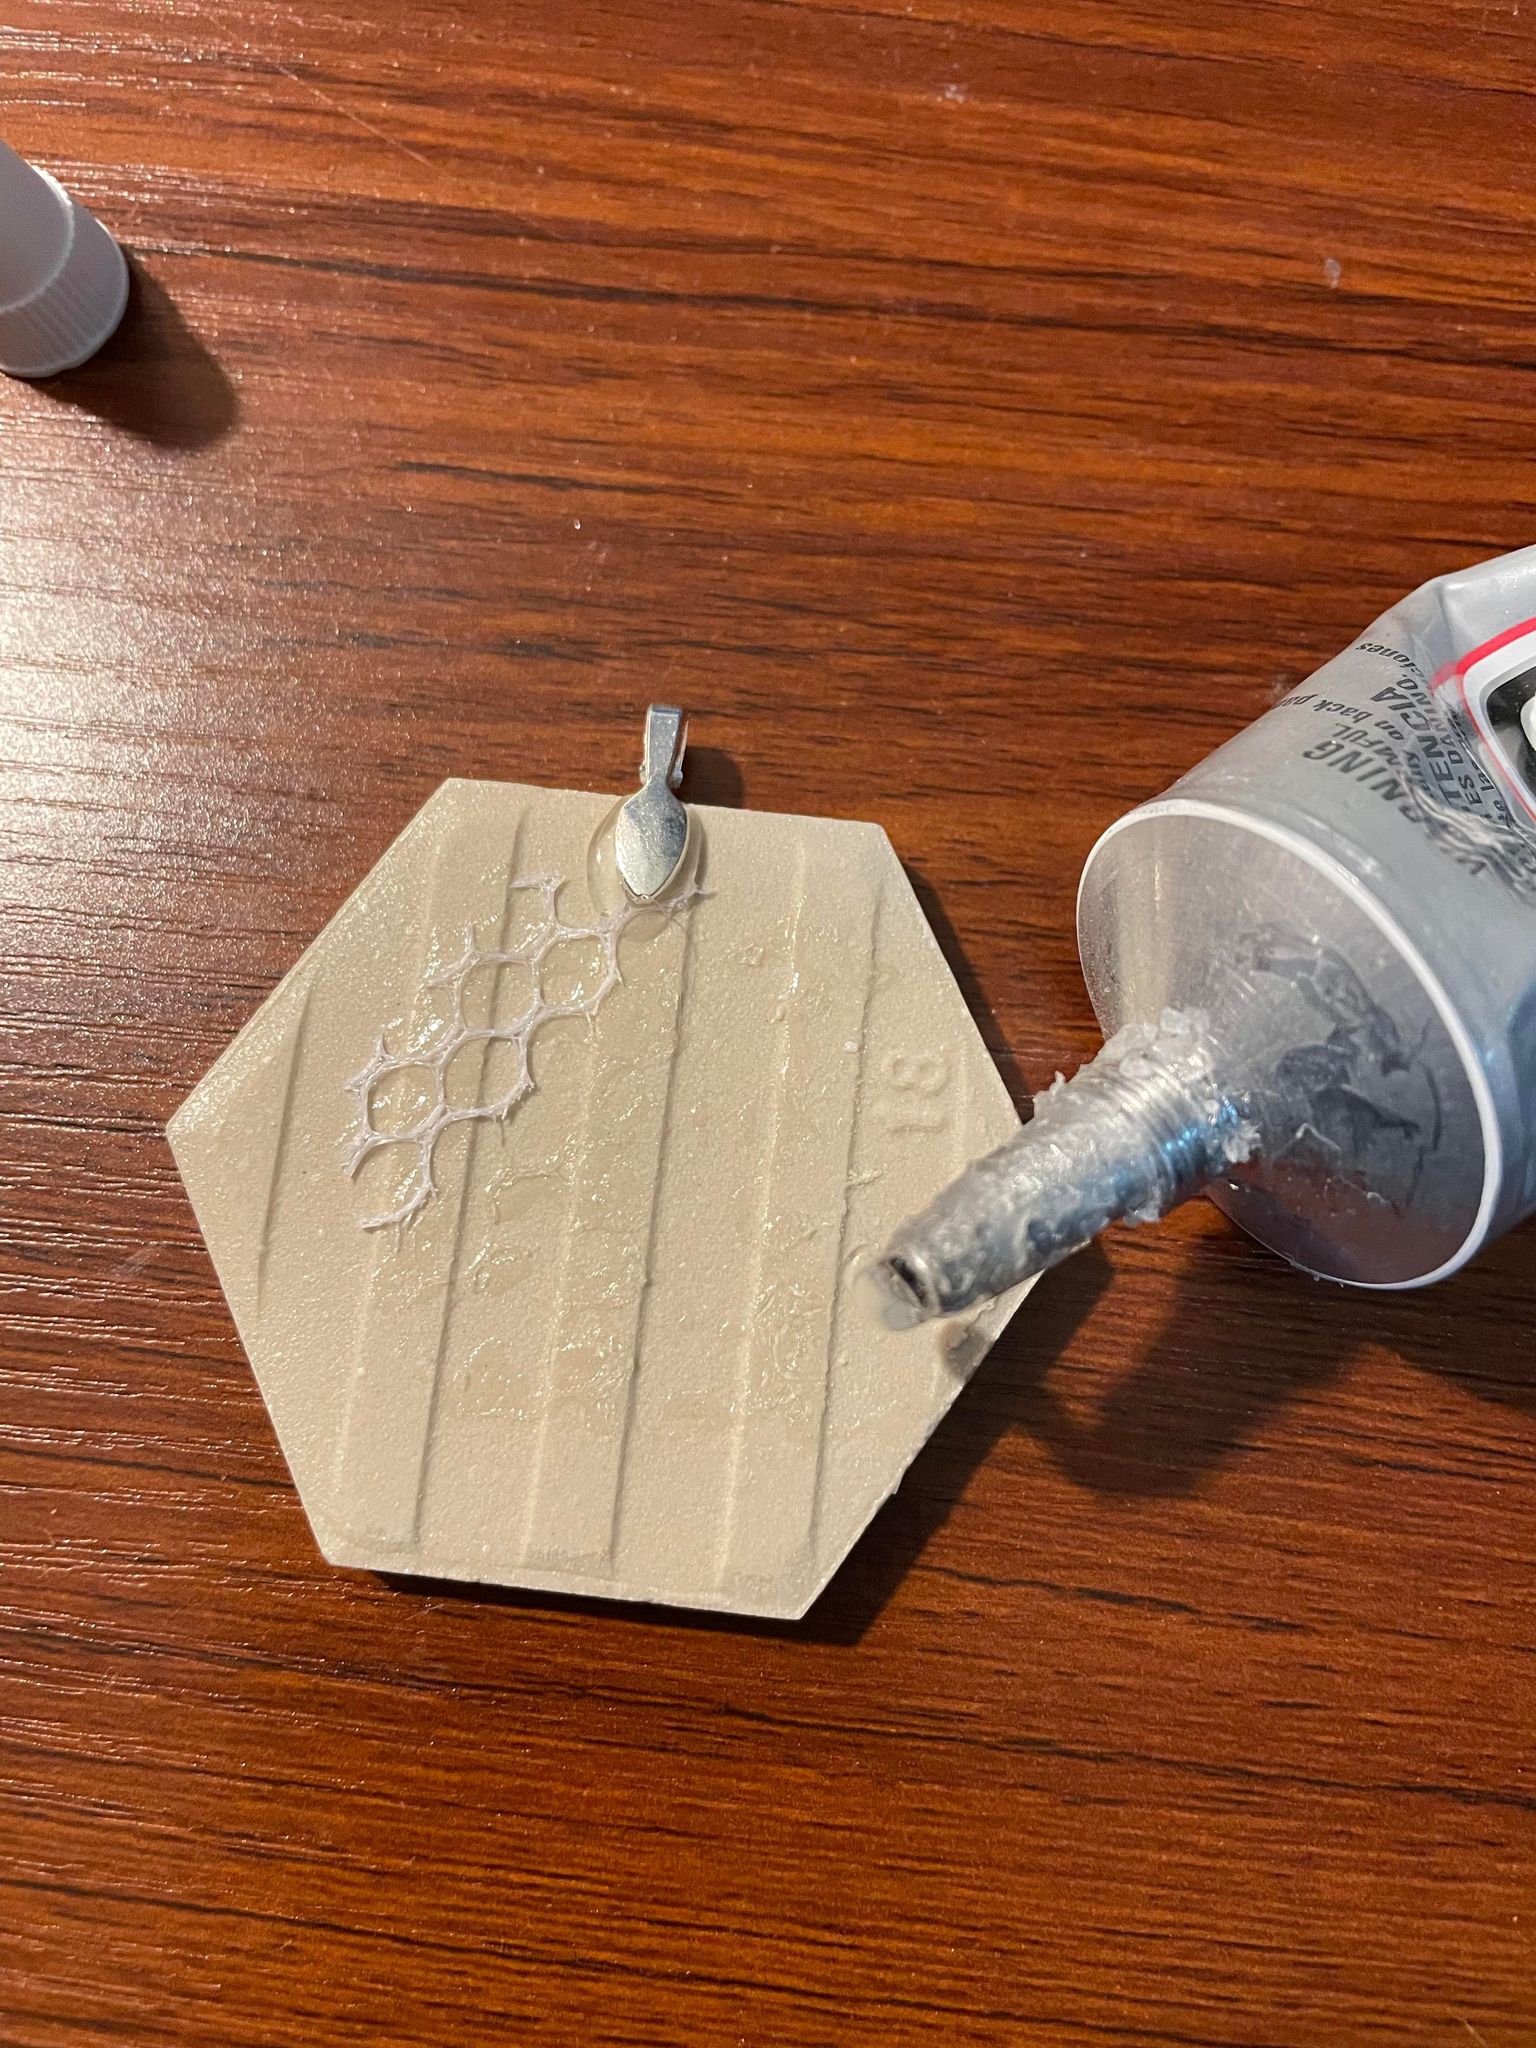
Next, take out your E6000 glue. First, put a dab of glue on the flat part of the bail. Then you will want to push that onto the ornament and try to keep it centered.
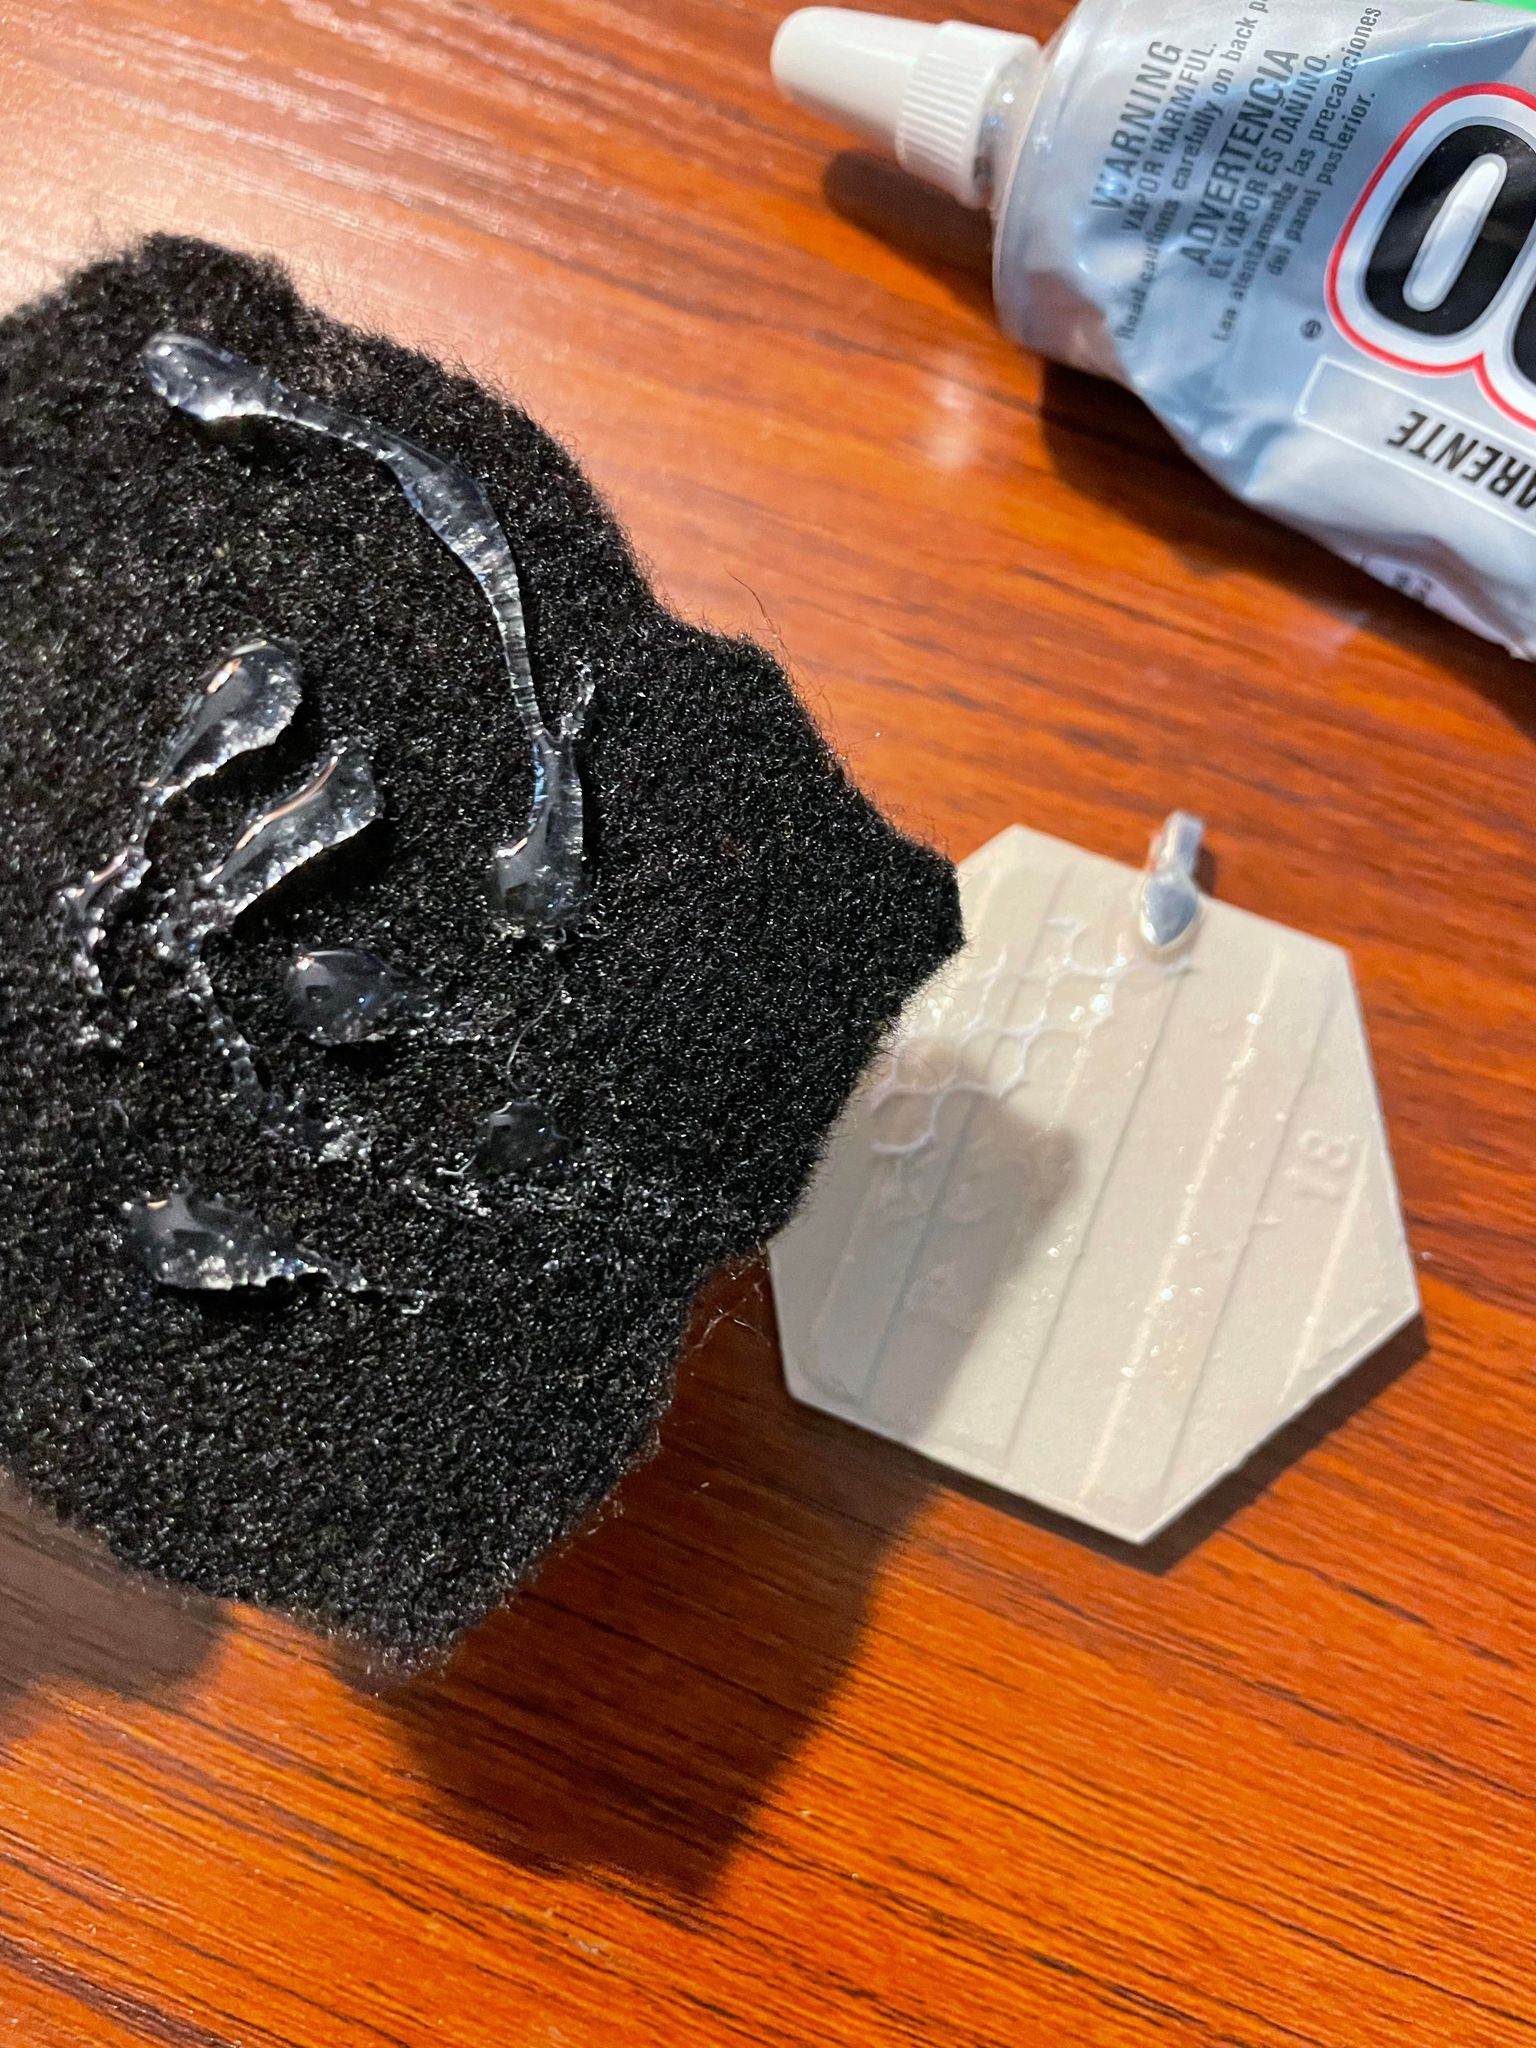
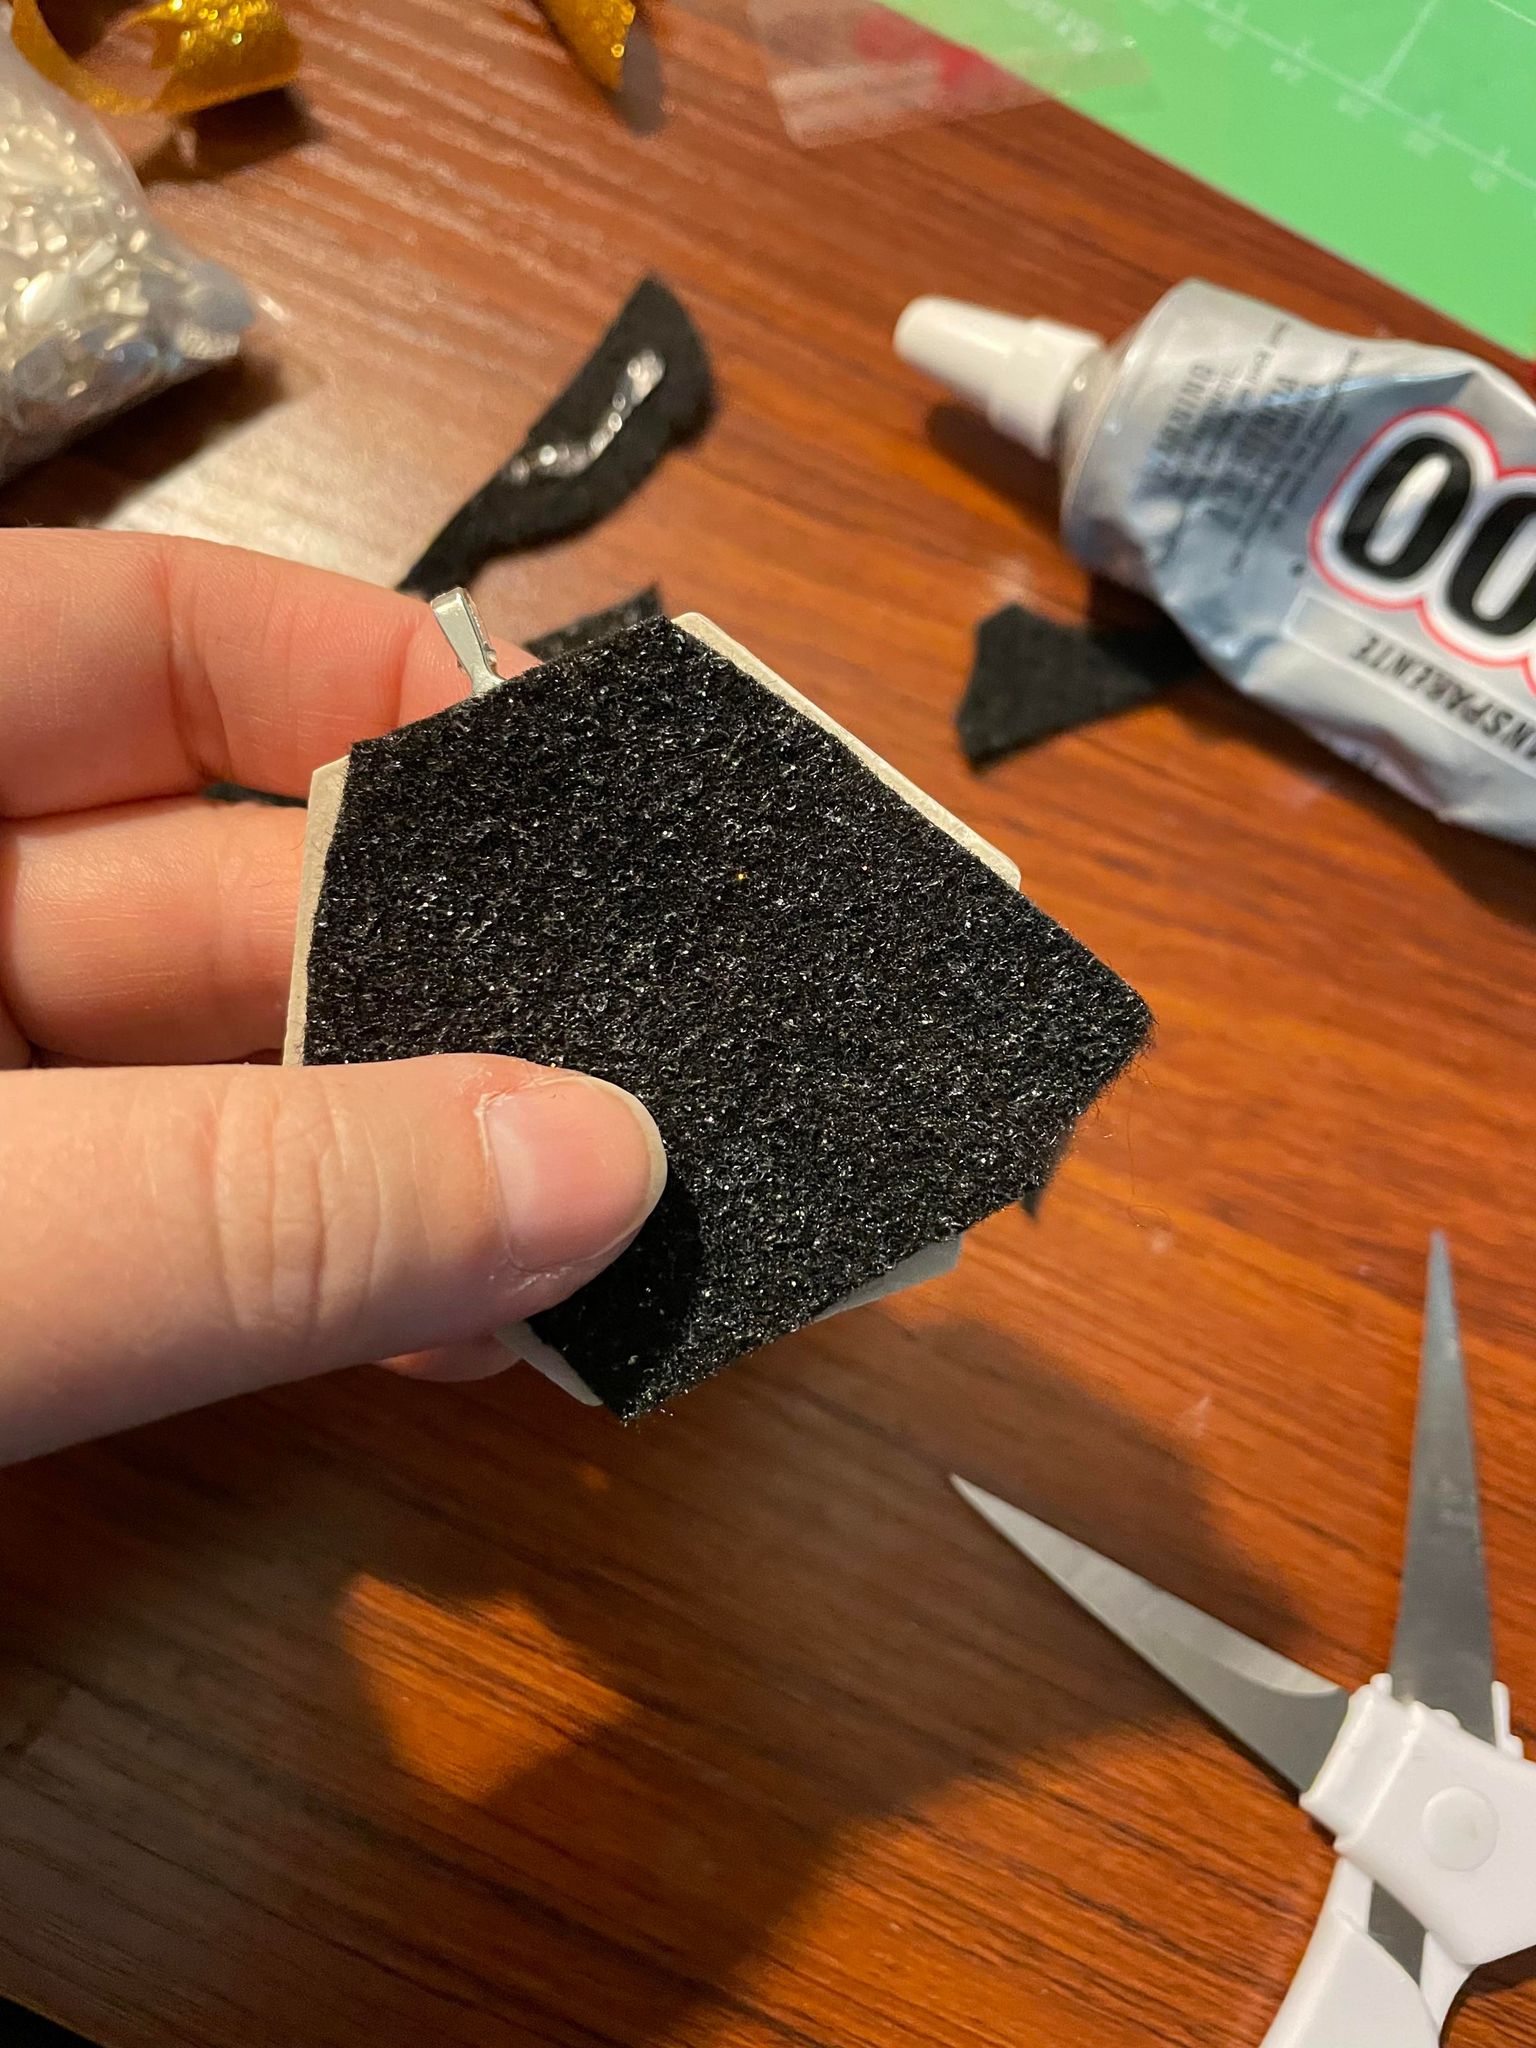
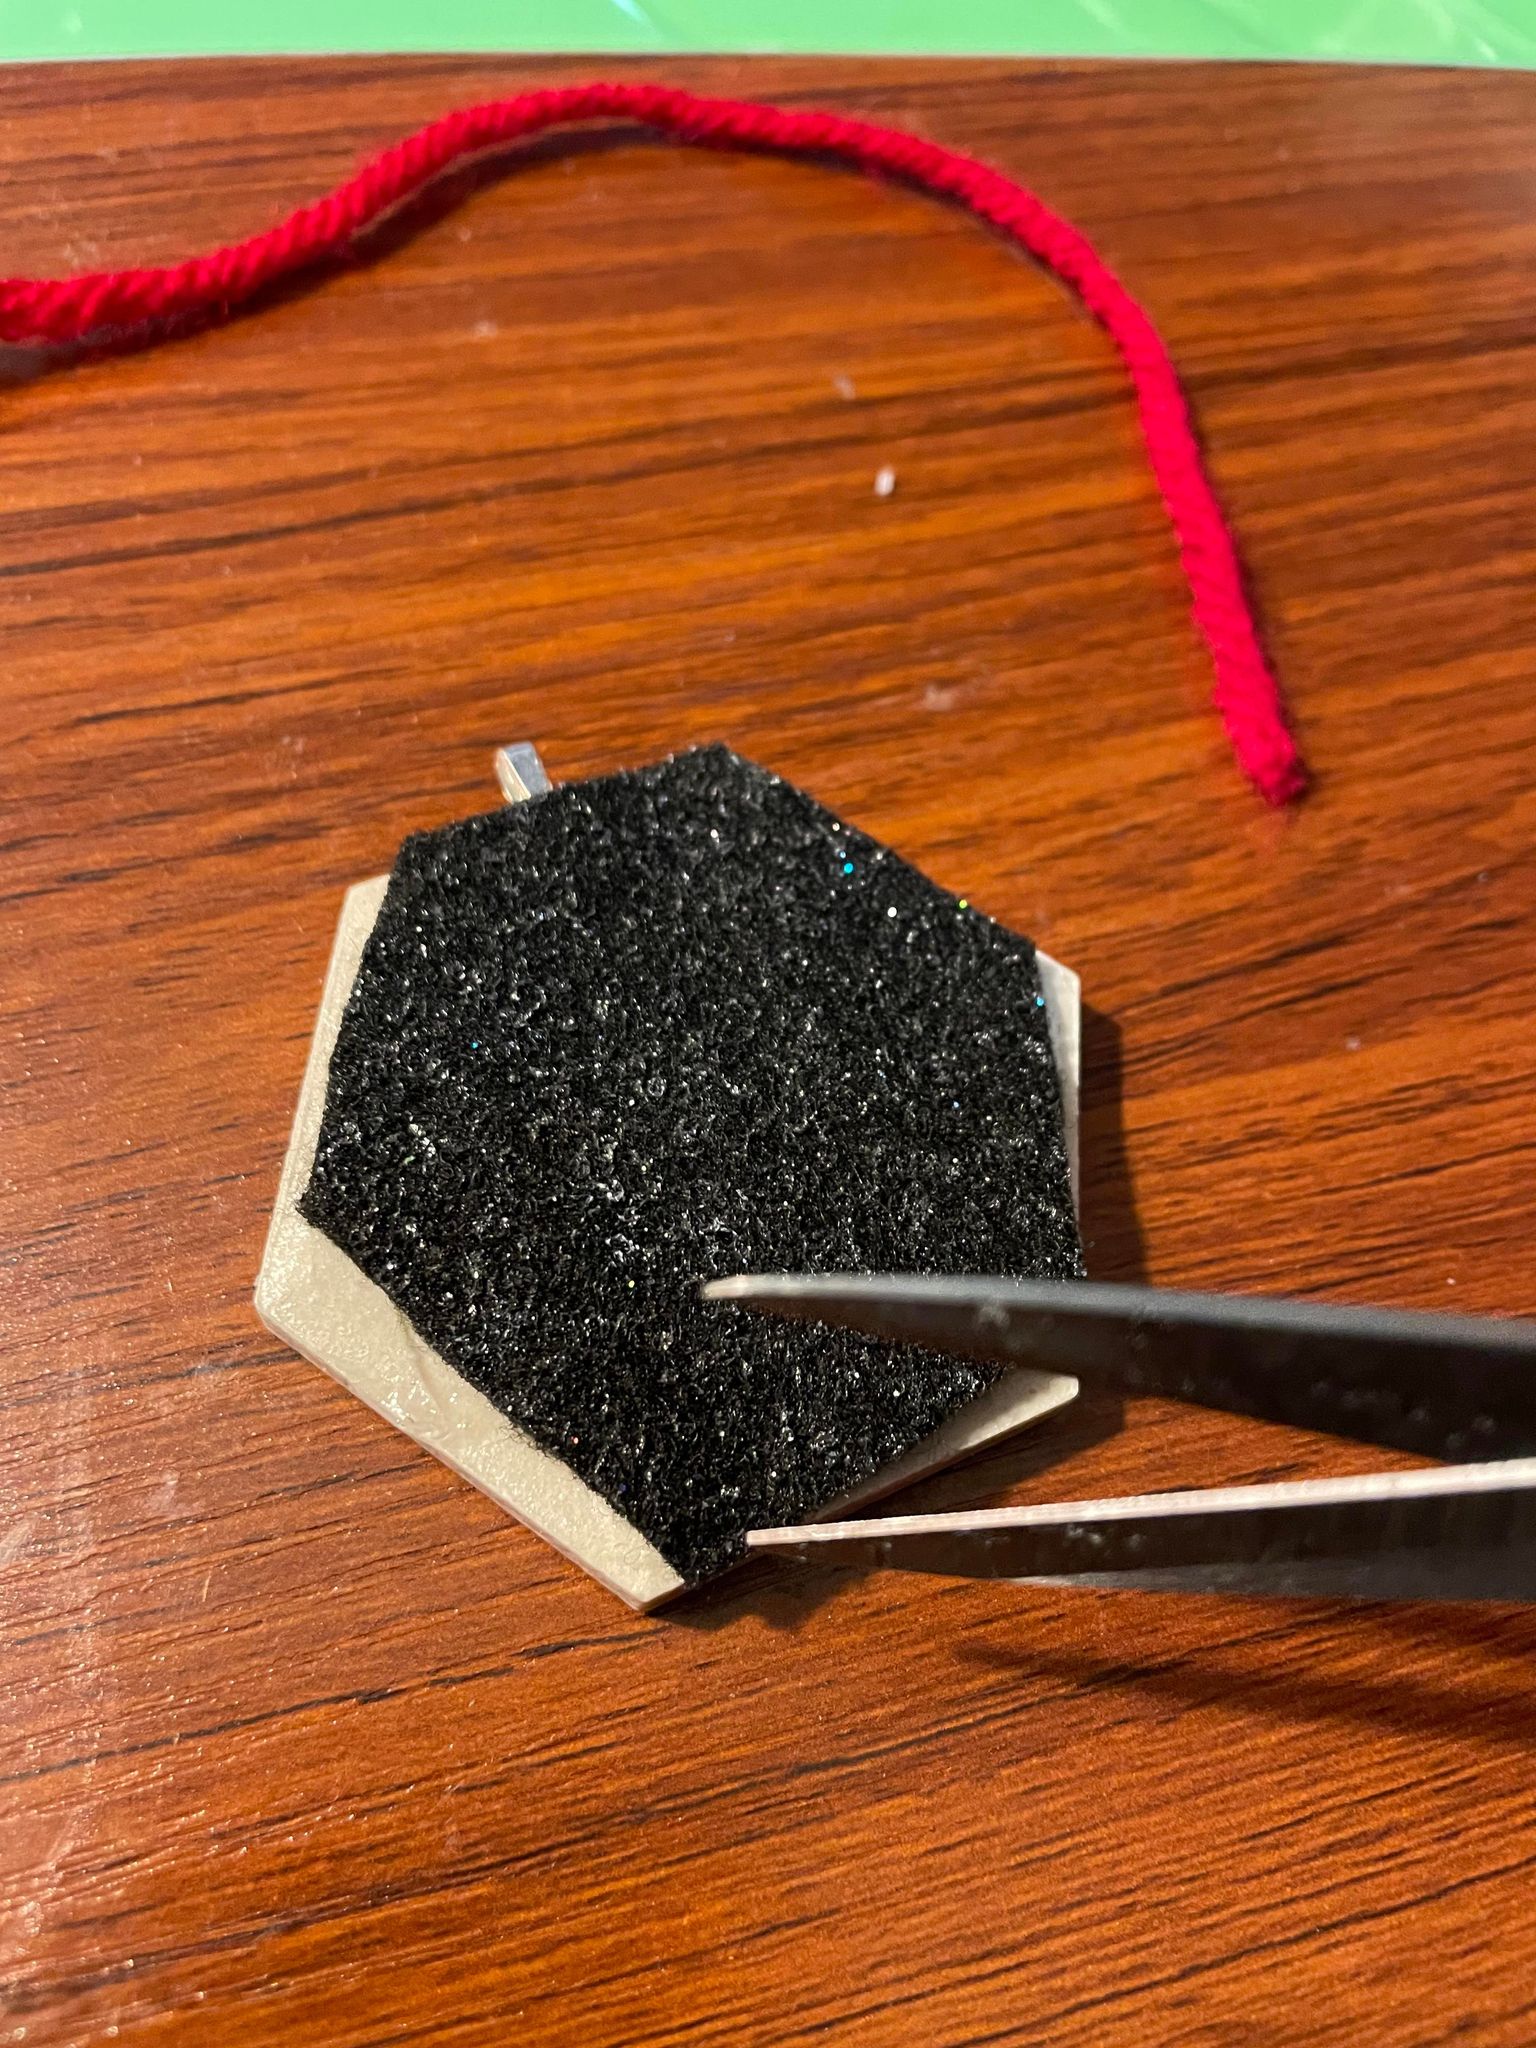
Next, cut your piece of felt and glue it on the back with your E6000 glue as well! Here, I had a scrap piece of felt that I just put E6000 on and then cut to fit the ornament shape.
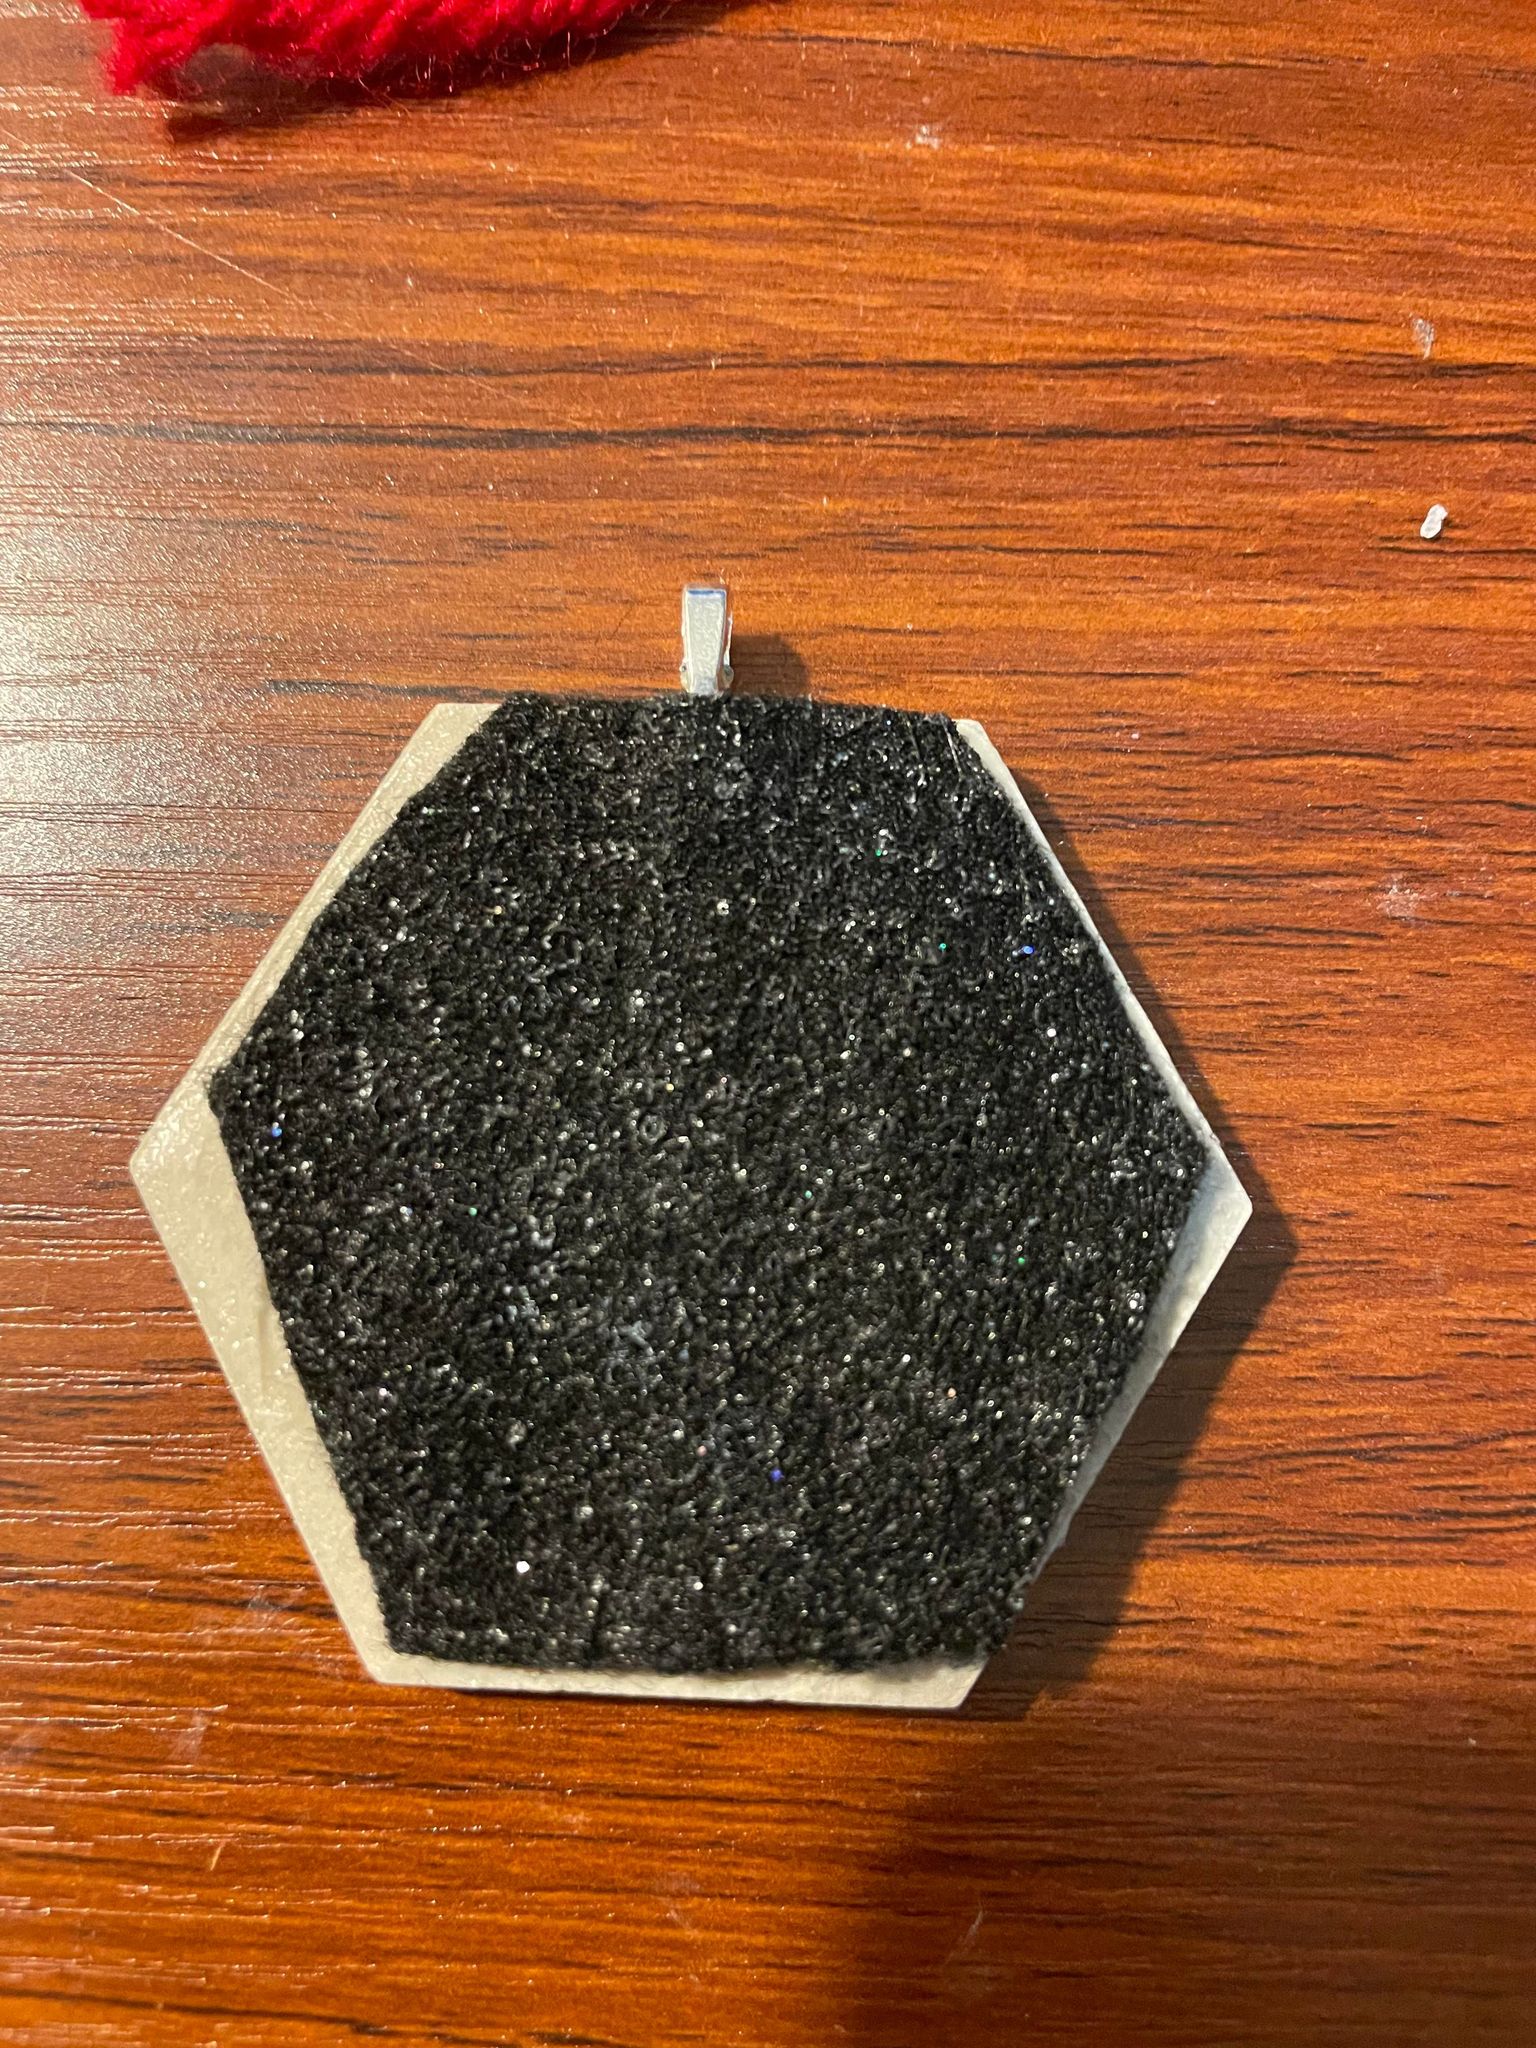
Now, you will want to let this dry for 24h. During that time, check the bail positioning and adjust if necessary. I noticed that sometimes it likes to droop, especially early on when the E6000 is still damp. In the end, you will have a nice secure loop to hang your ornament from on your Christmas Tree.