How to create a Minecraft Cake Topper using your cutting machine
Walk through the steps to create a Minecraft Cake Topper

One of the joys in our household is decorating for every birthday. Each child gets to pick their theme, and they wake up on their birthday with the house decorated just for them. In 2021, my son turned 6 and like many six year olds out there he decided his theme would be “Minecraft”. So I got all the decorations I could find to make the house look “cool” by six year old standards. I saw some great Minecraft themed decor looking on google and through Pinterest. The cake design, however, was a lot harder. I was not about to pay an arm and a leg for a bakery Minecraft inspired cake and sadly our local warehouse store (Sams/Costco) did not have Minecraft themed cake decor. So we improvised and created a Minecraft cake from a design they DID have, and I set out to make a Minecraft cake topper of my own! Except, I had never done a cake topper before! I searched and searched and I just couldn’t find an SVG for a Minecraft cake topper. So, I put myself to the trial and error of creating one myself:

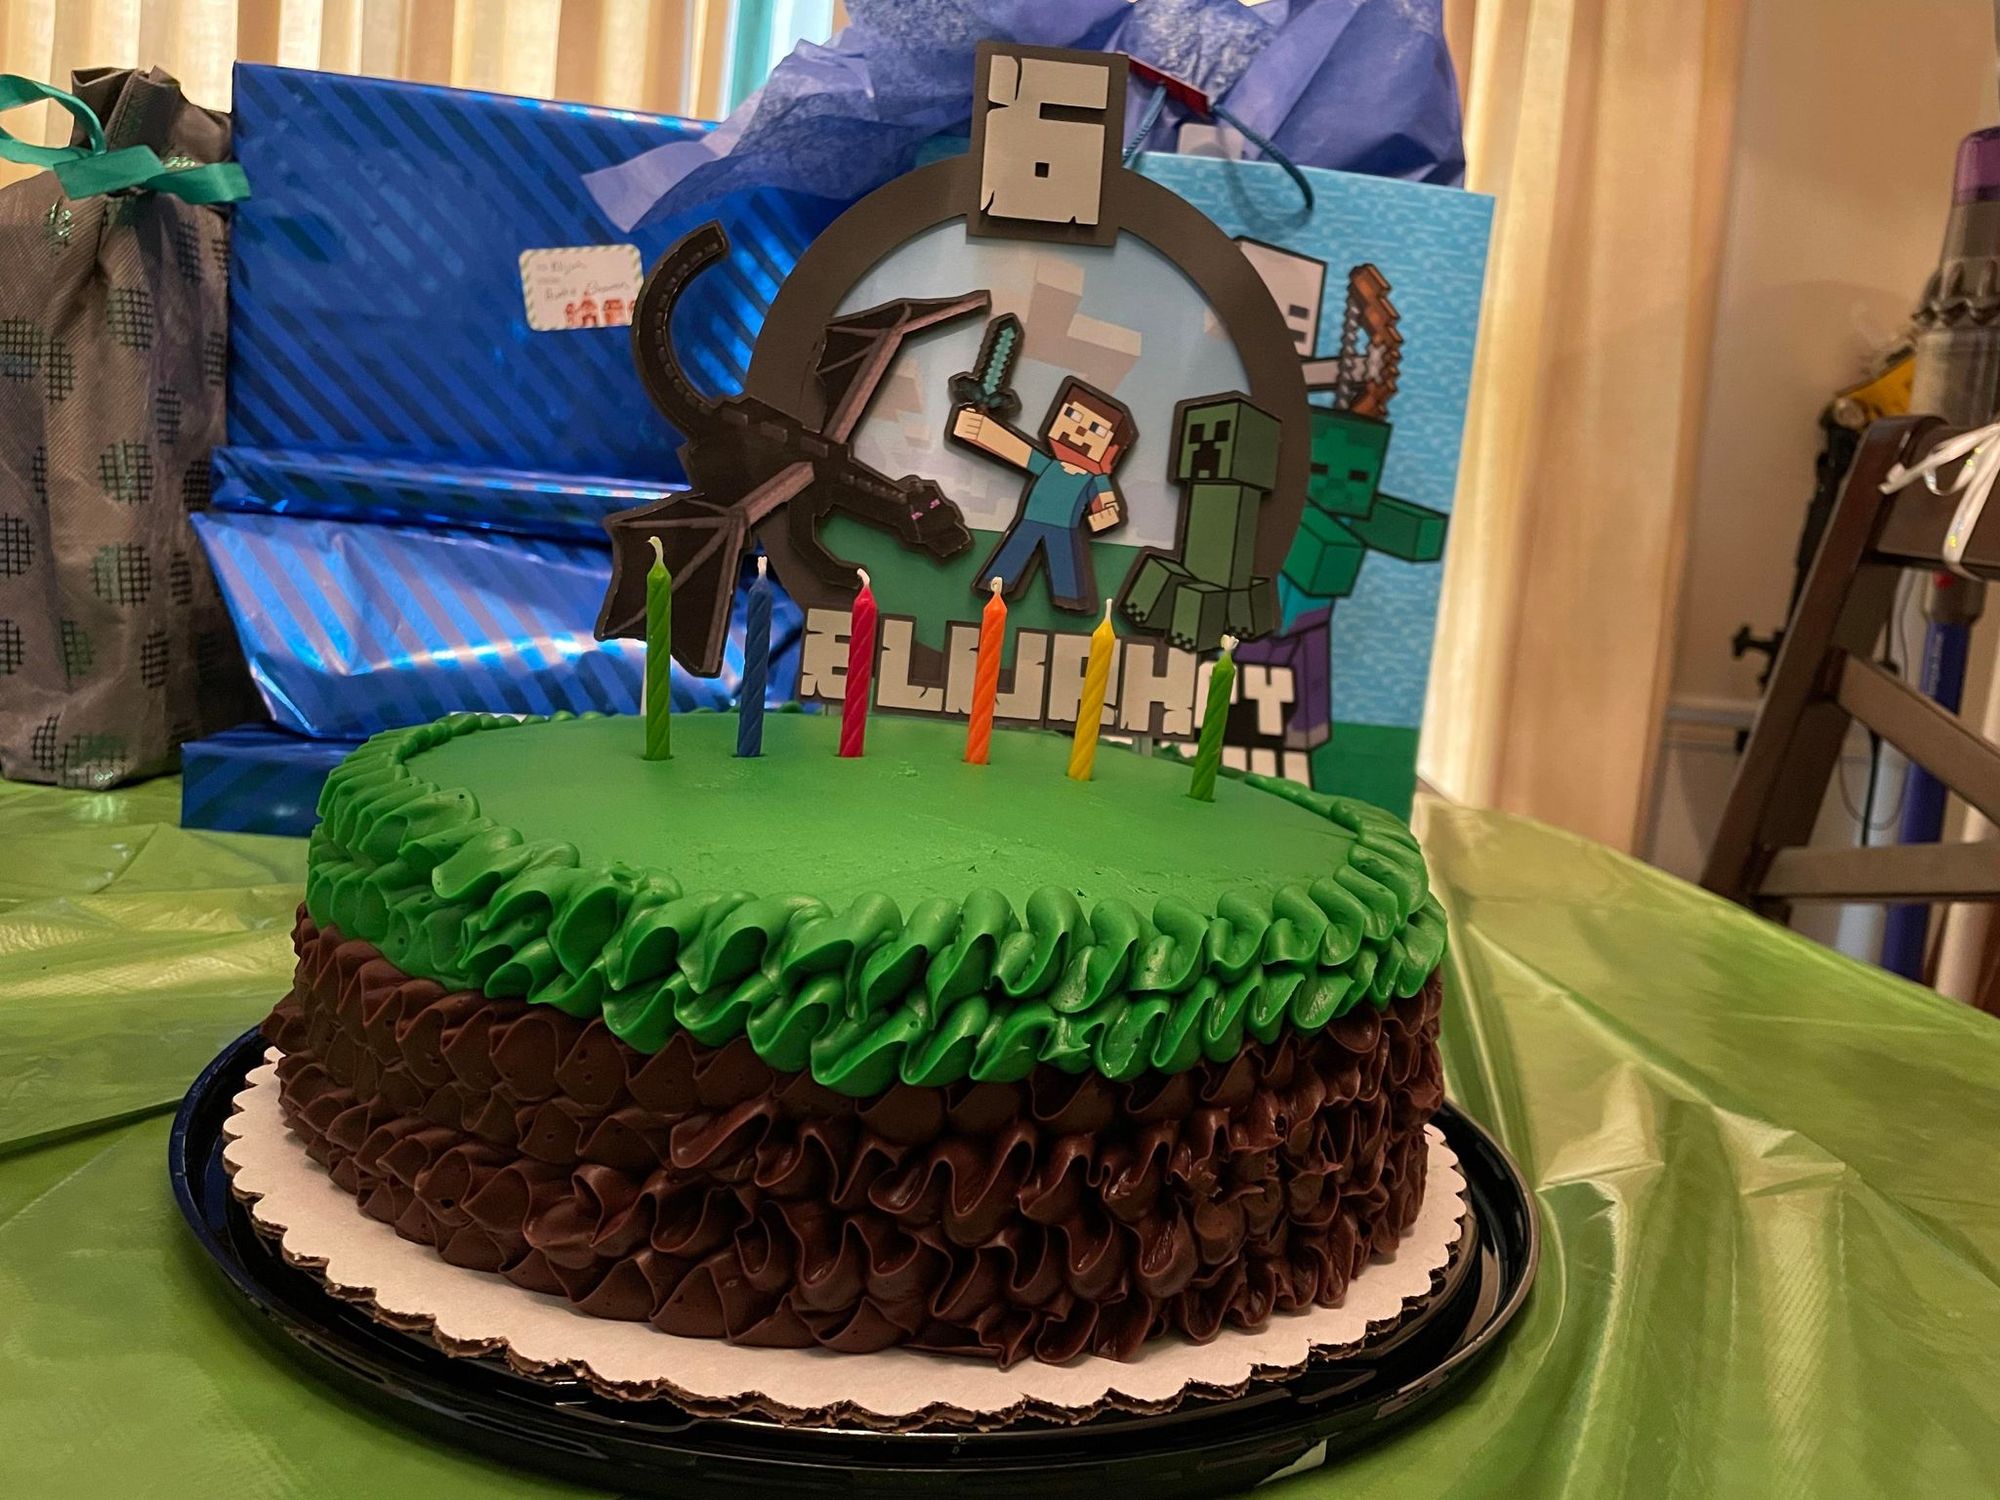
As this would all be out of cardstock and paper, I could easily use a Minecraft sky image, and 3D images of some of his favorite characters. In a future post I will give details on how to create an image like this on your own in design space. For now, let’s focus on how to construct the cake topper itself!
So what will you need?
- Varying colors of cardstock (this this case I used a light gray for the name/age, bright green for the grass, and dark gray for the border)
- Copy paper (to print any images you will not construct)
- Glue Stick
- A printer with ink (I had to replace my ink, this is a very important point!)
- Adhesive foam (I like the Scotch brand UPC 051131760066)
- Hot glue gun with glue
- Straws (or a dowel rod, or toothpicks depending on the size/weight of your topper)
- Computer
- Scissors
- Cutting machine (Cricut, Silhouette, etc.)
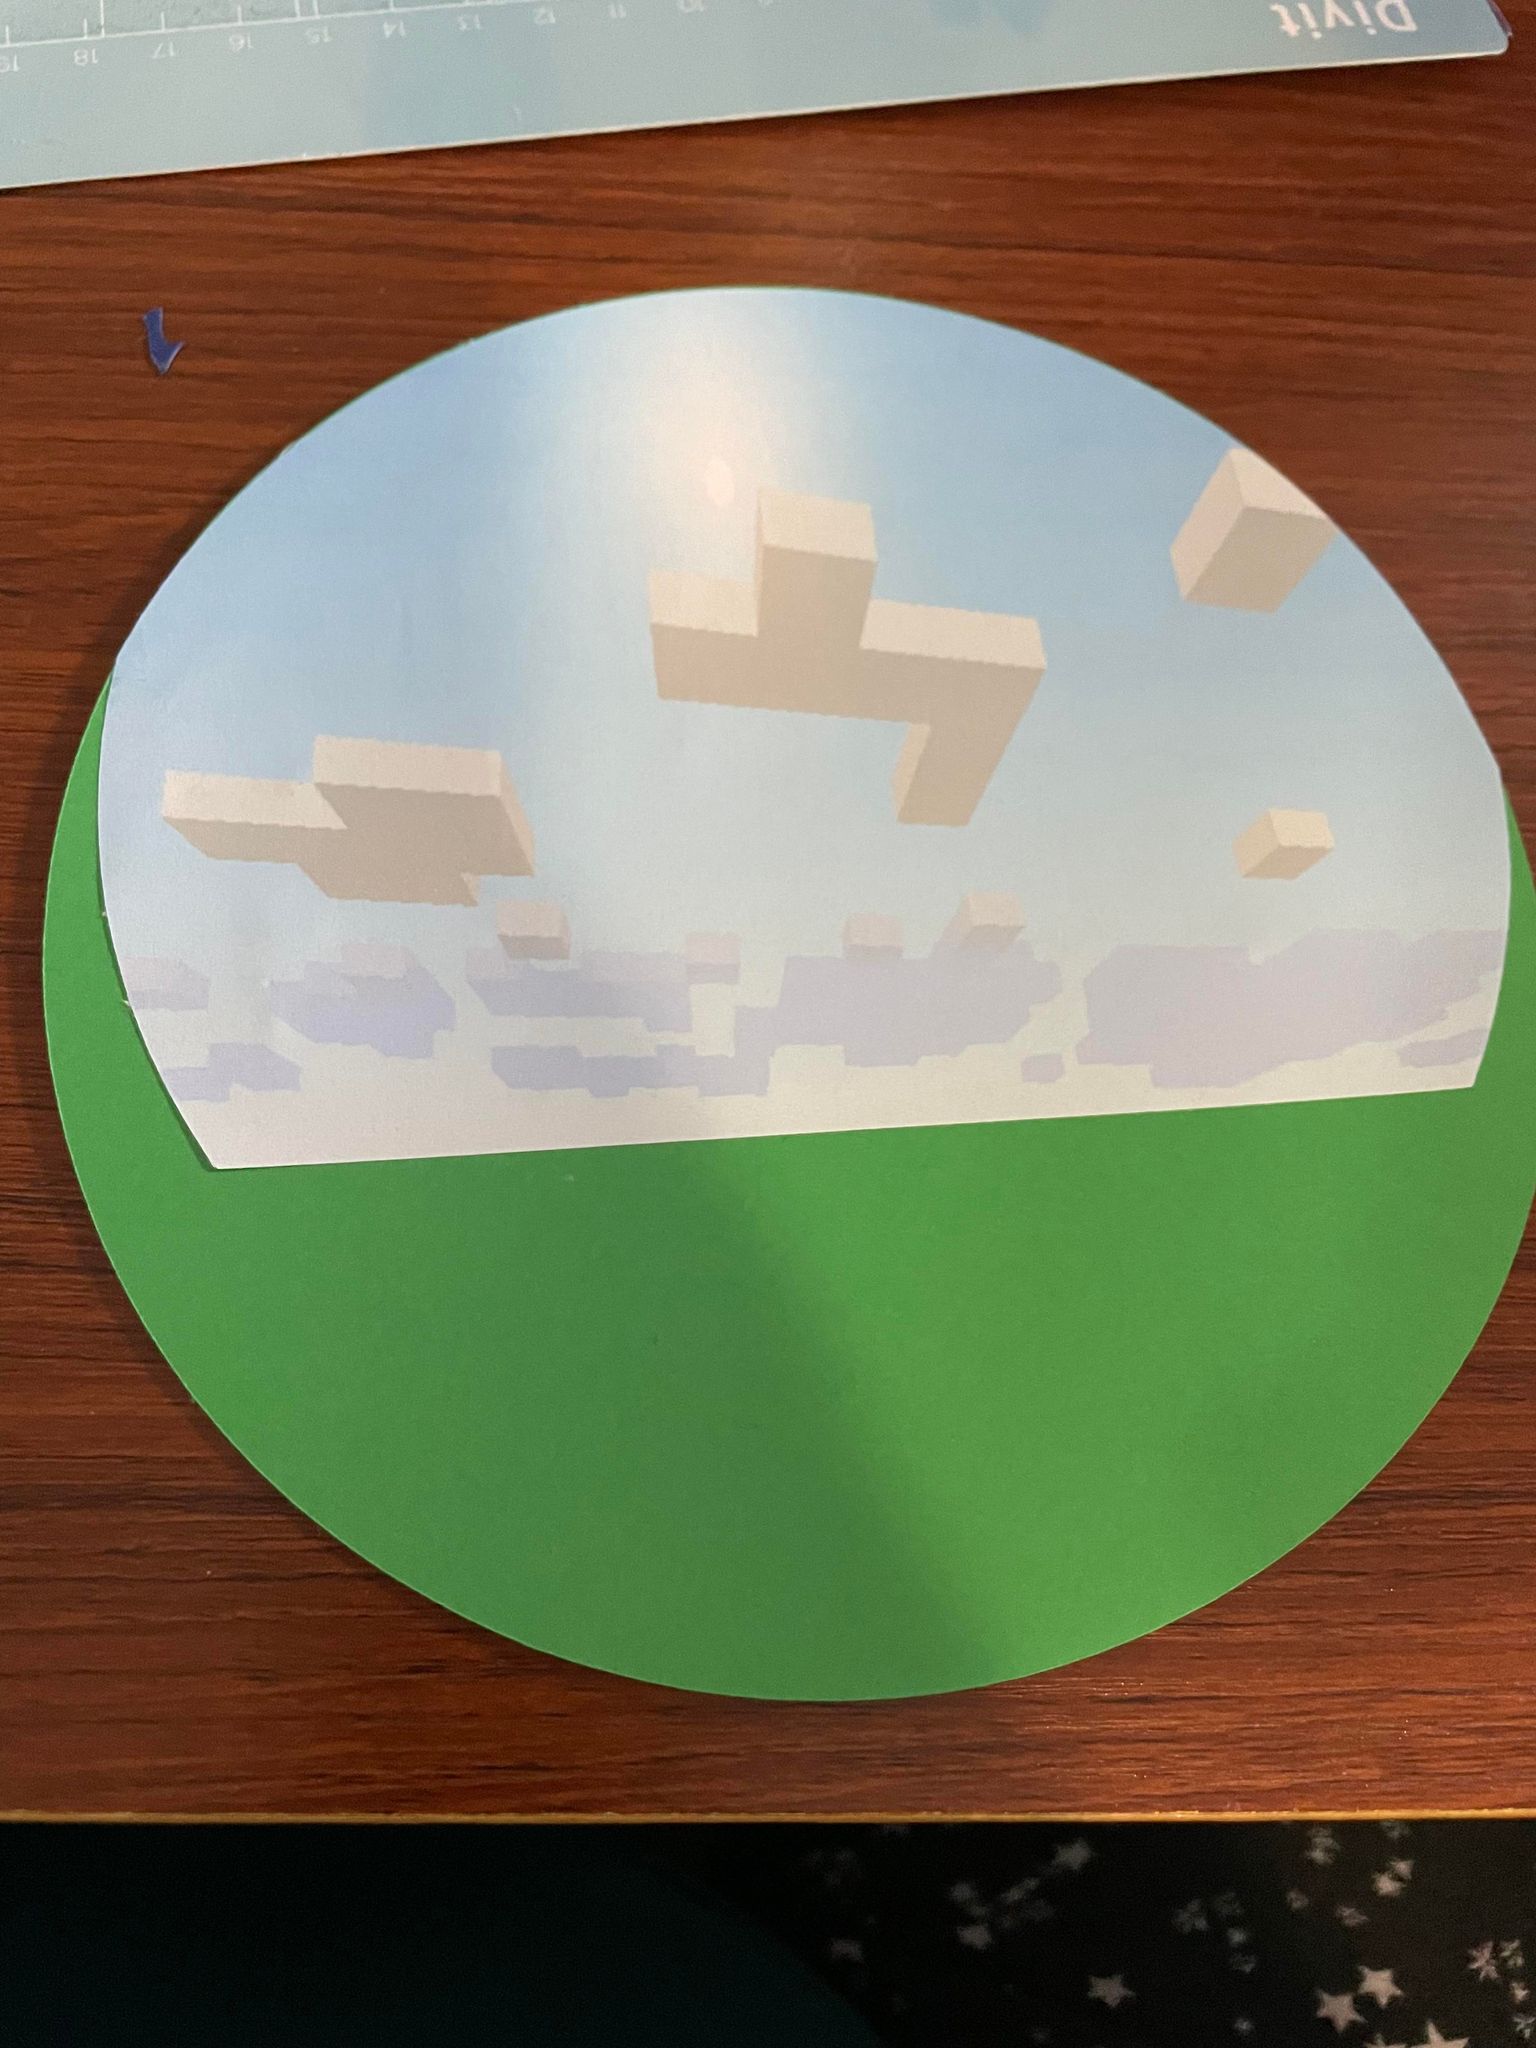
To build this cake topper, I started from the very bottom layer. In this case, a big green circle for the grass. I think printed and hand cut the sky background and used a glue stick to fuse the two together because I wanted them to be “flat” as a background (not 3D). It looked something like this:
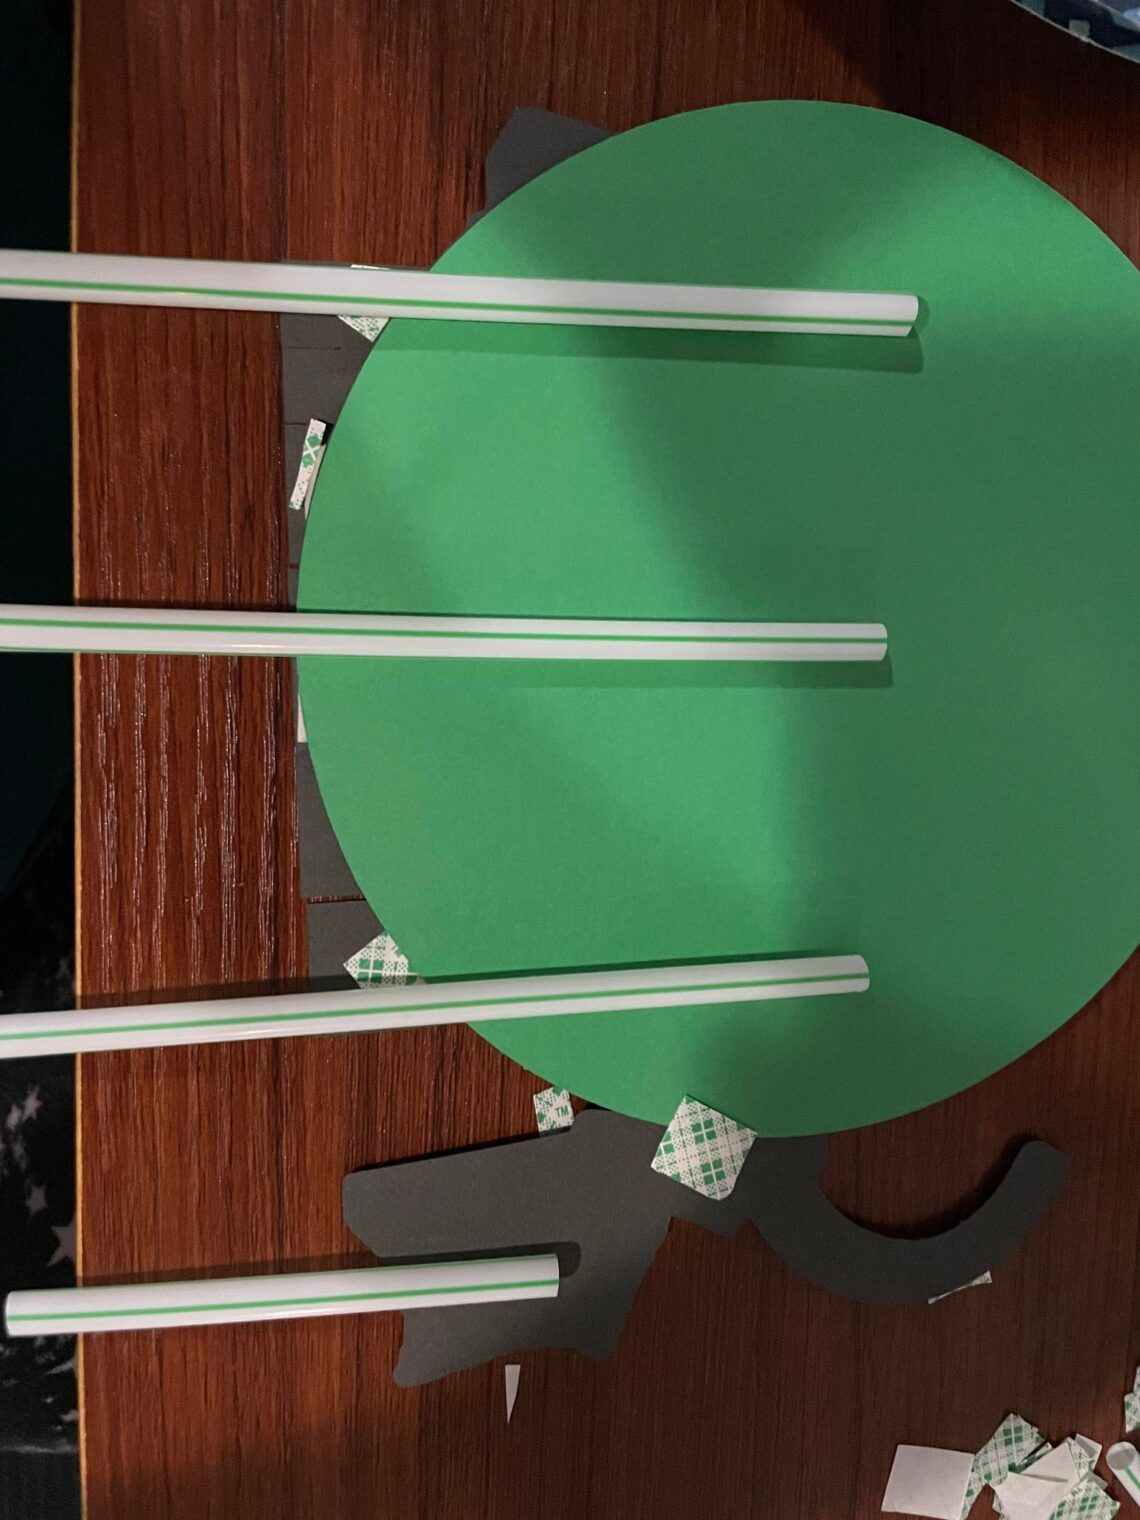
Then, I used my Cricut Explore Air 2 to cut out the frame, the name, and the age. For the frame and Steve character background, I used foam adhesive that I cut to the desired size to adhere it to the green circle as seen here:
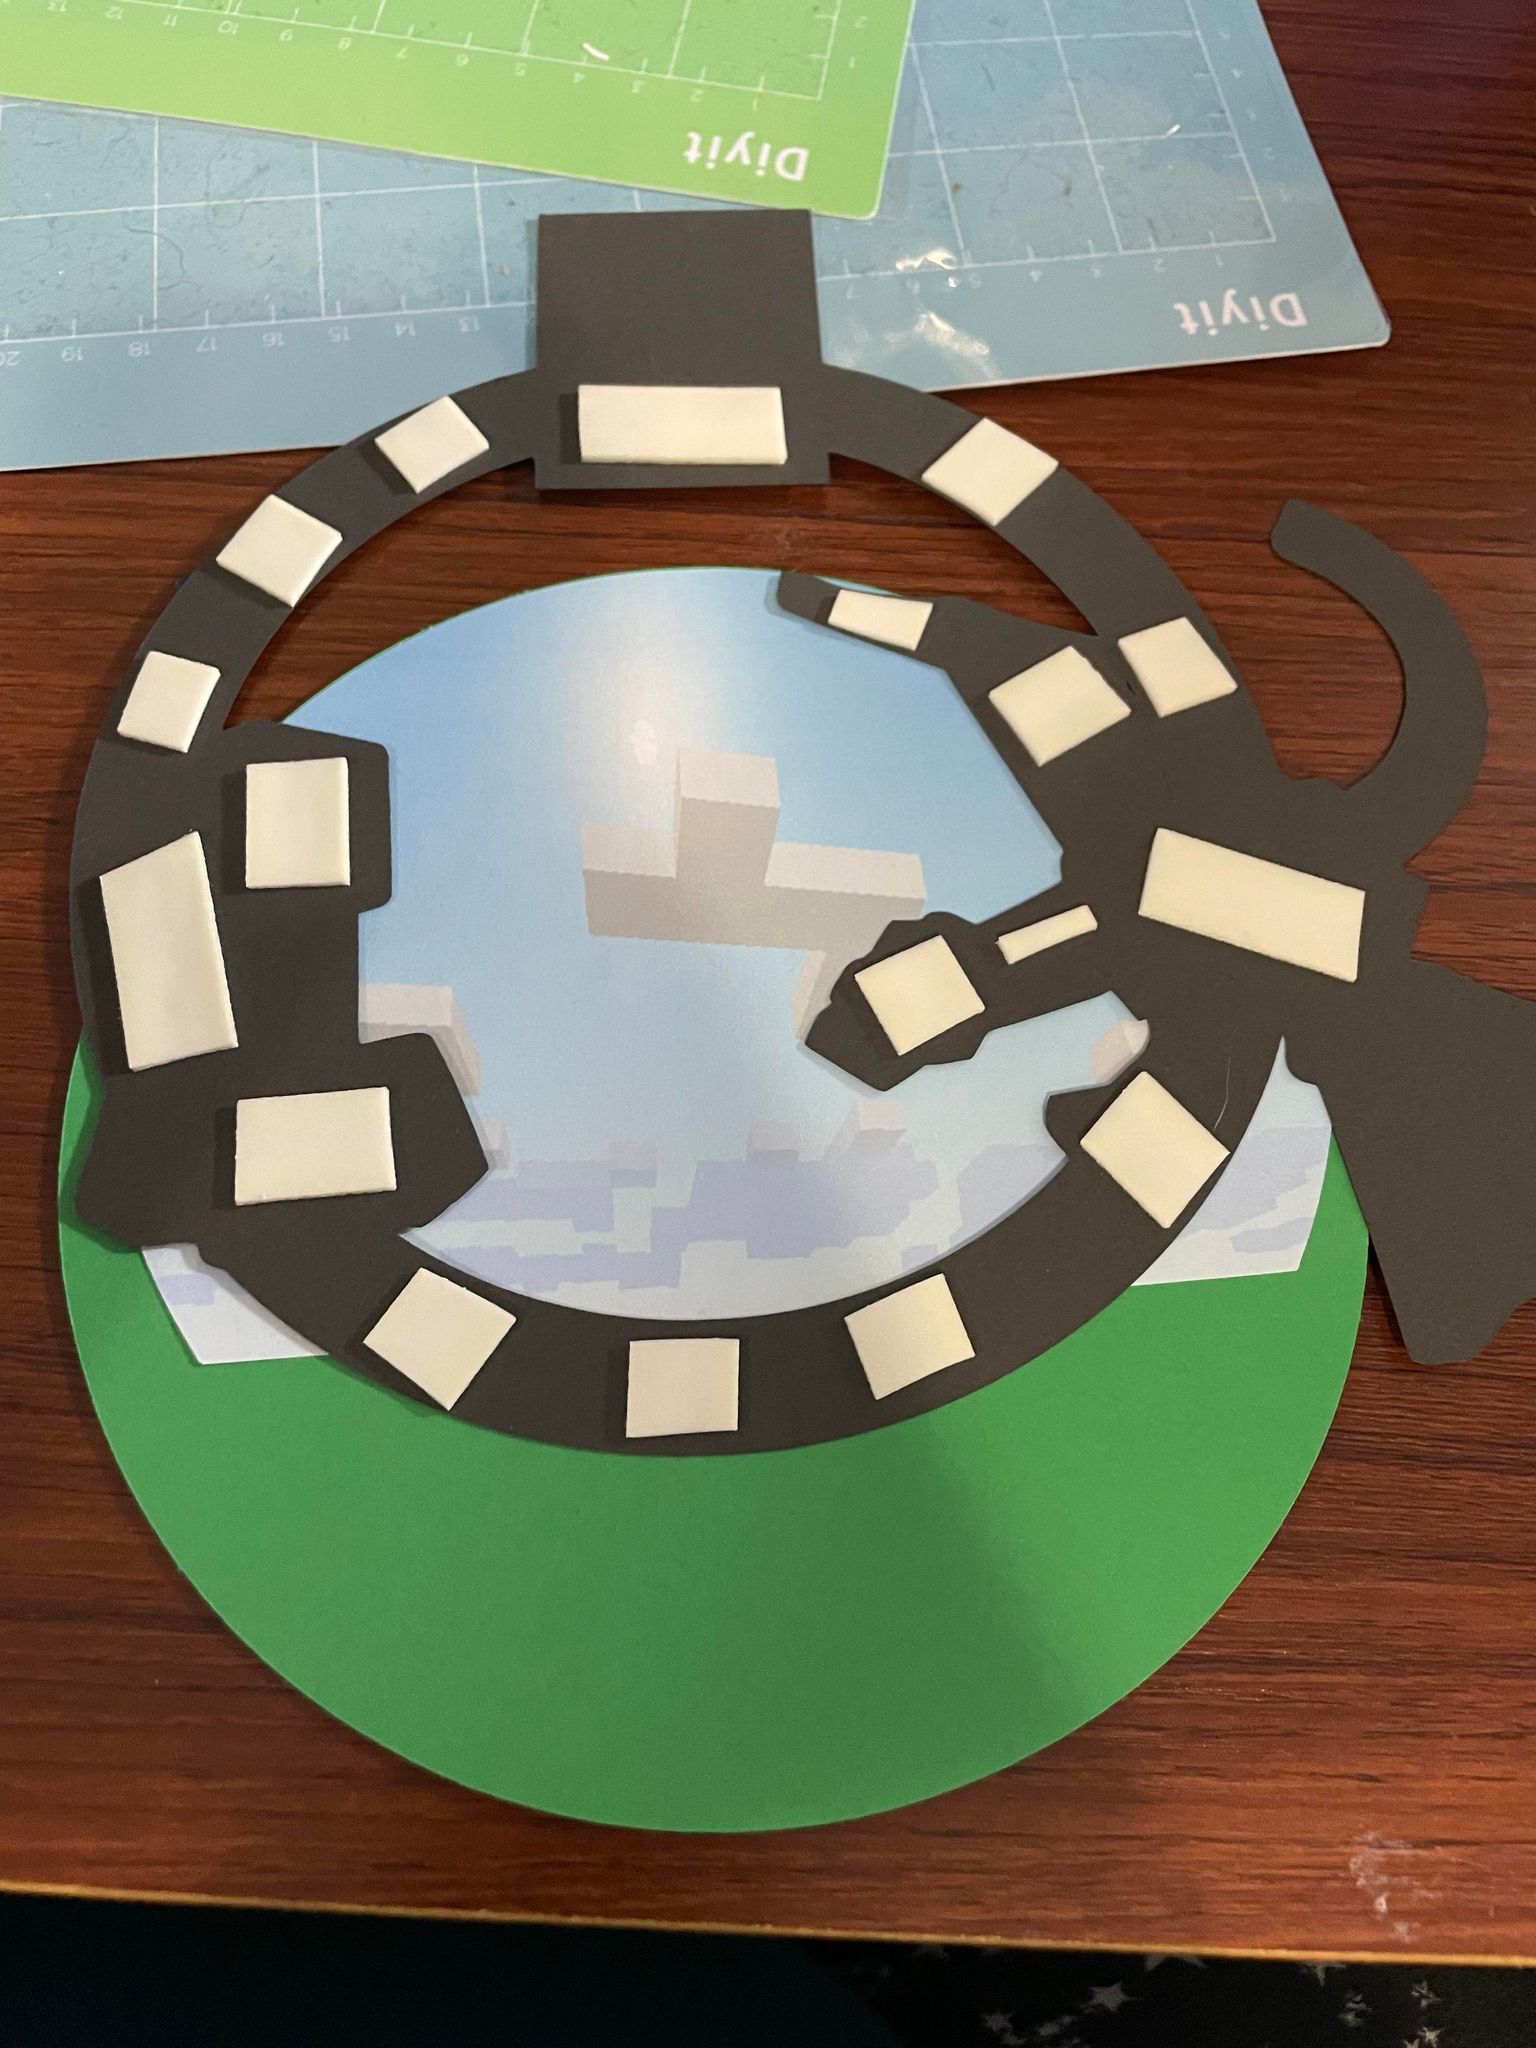
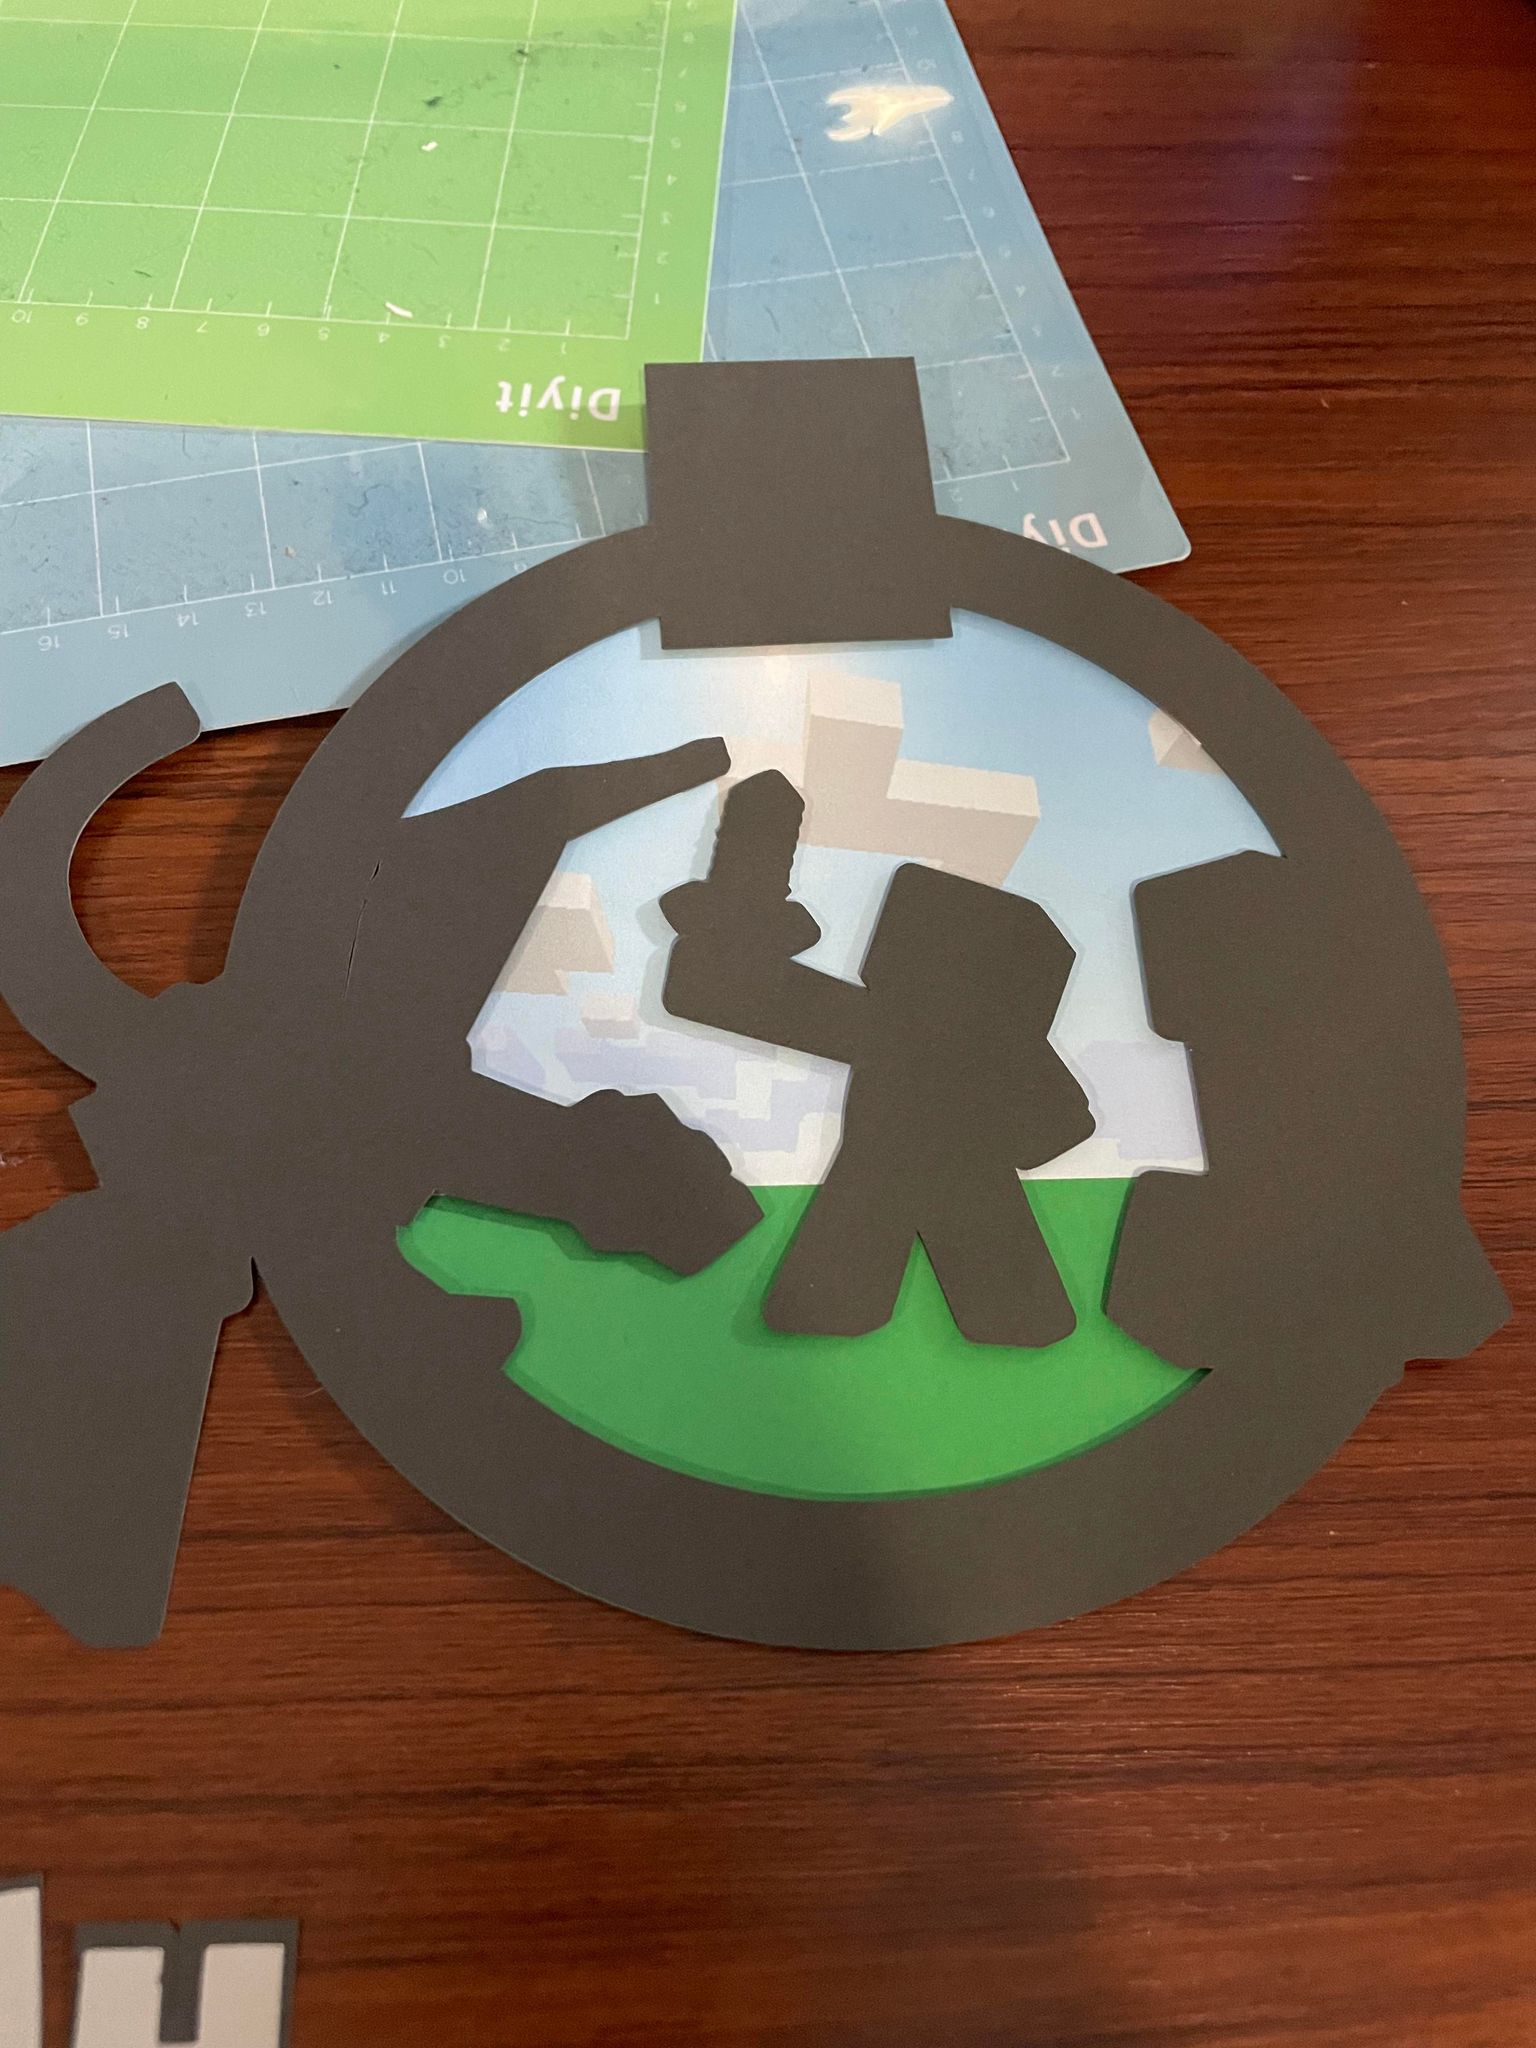
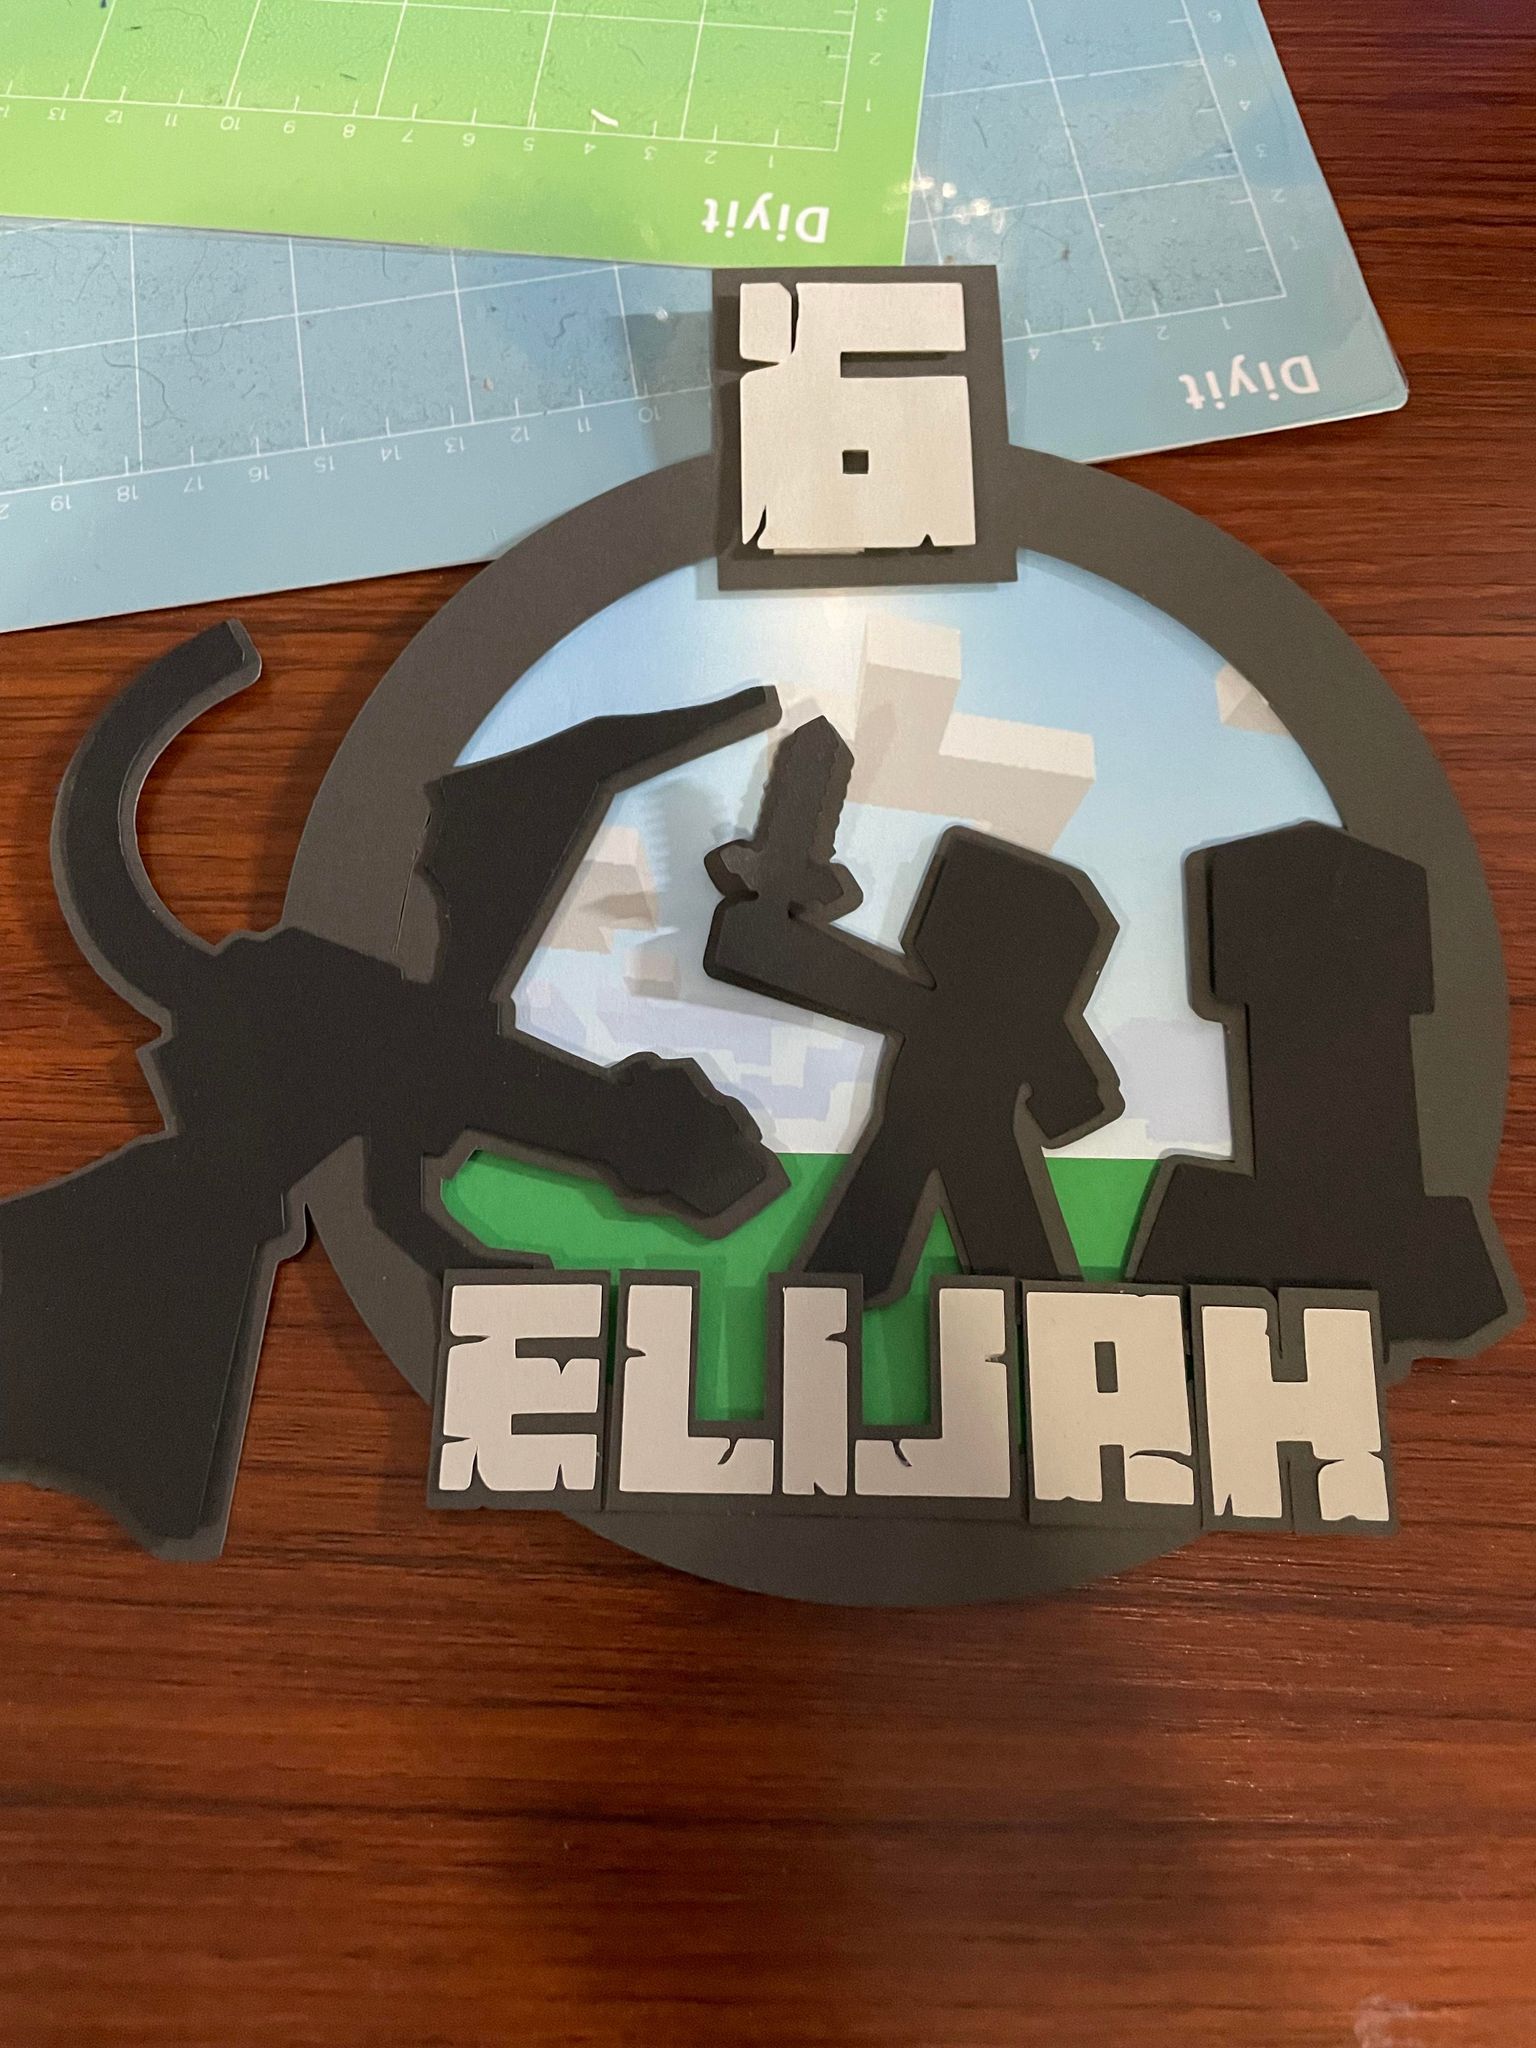
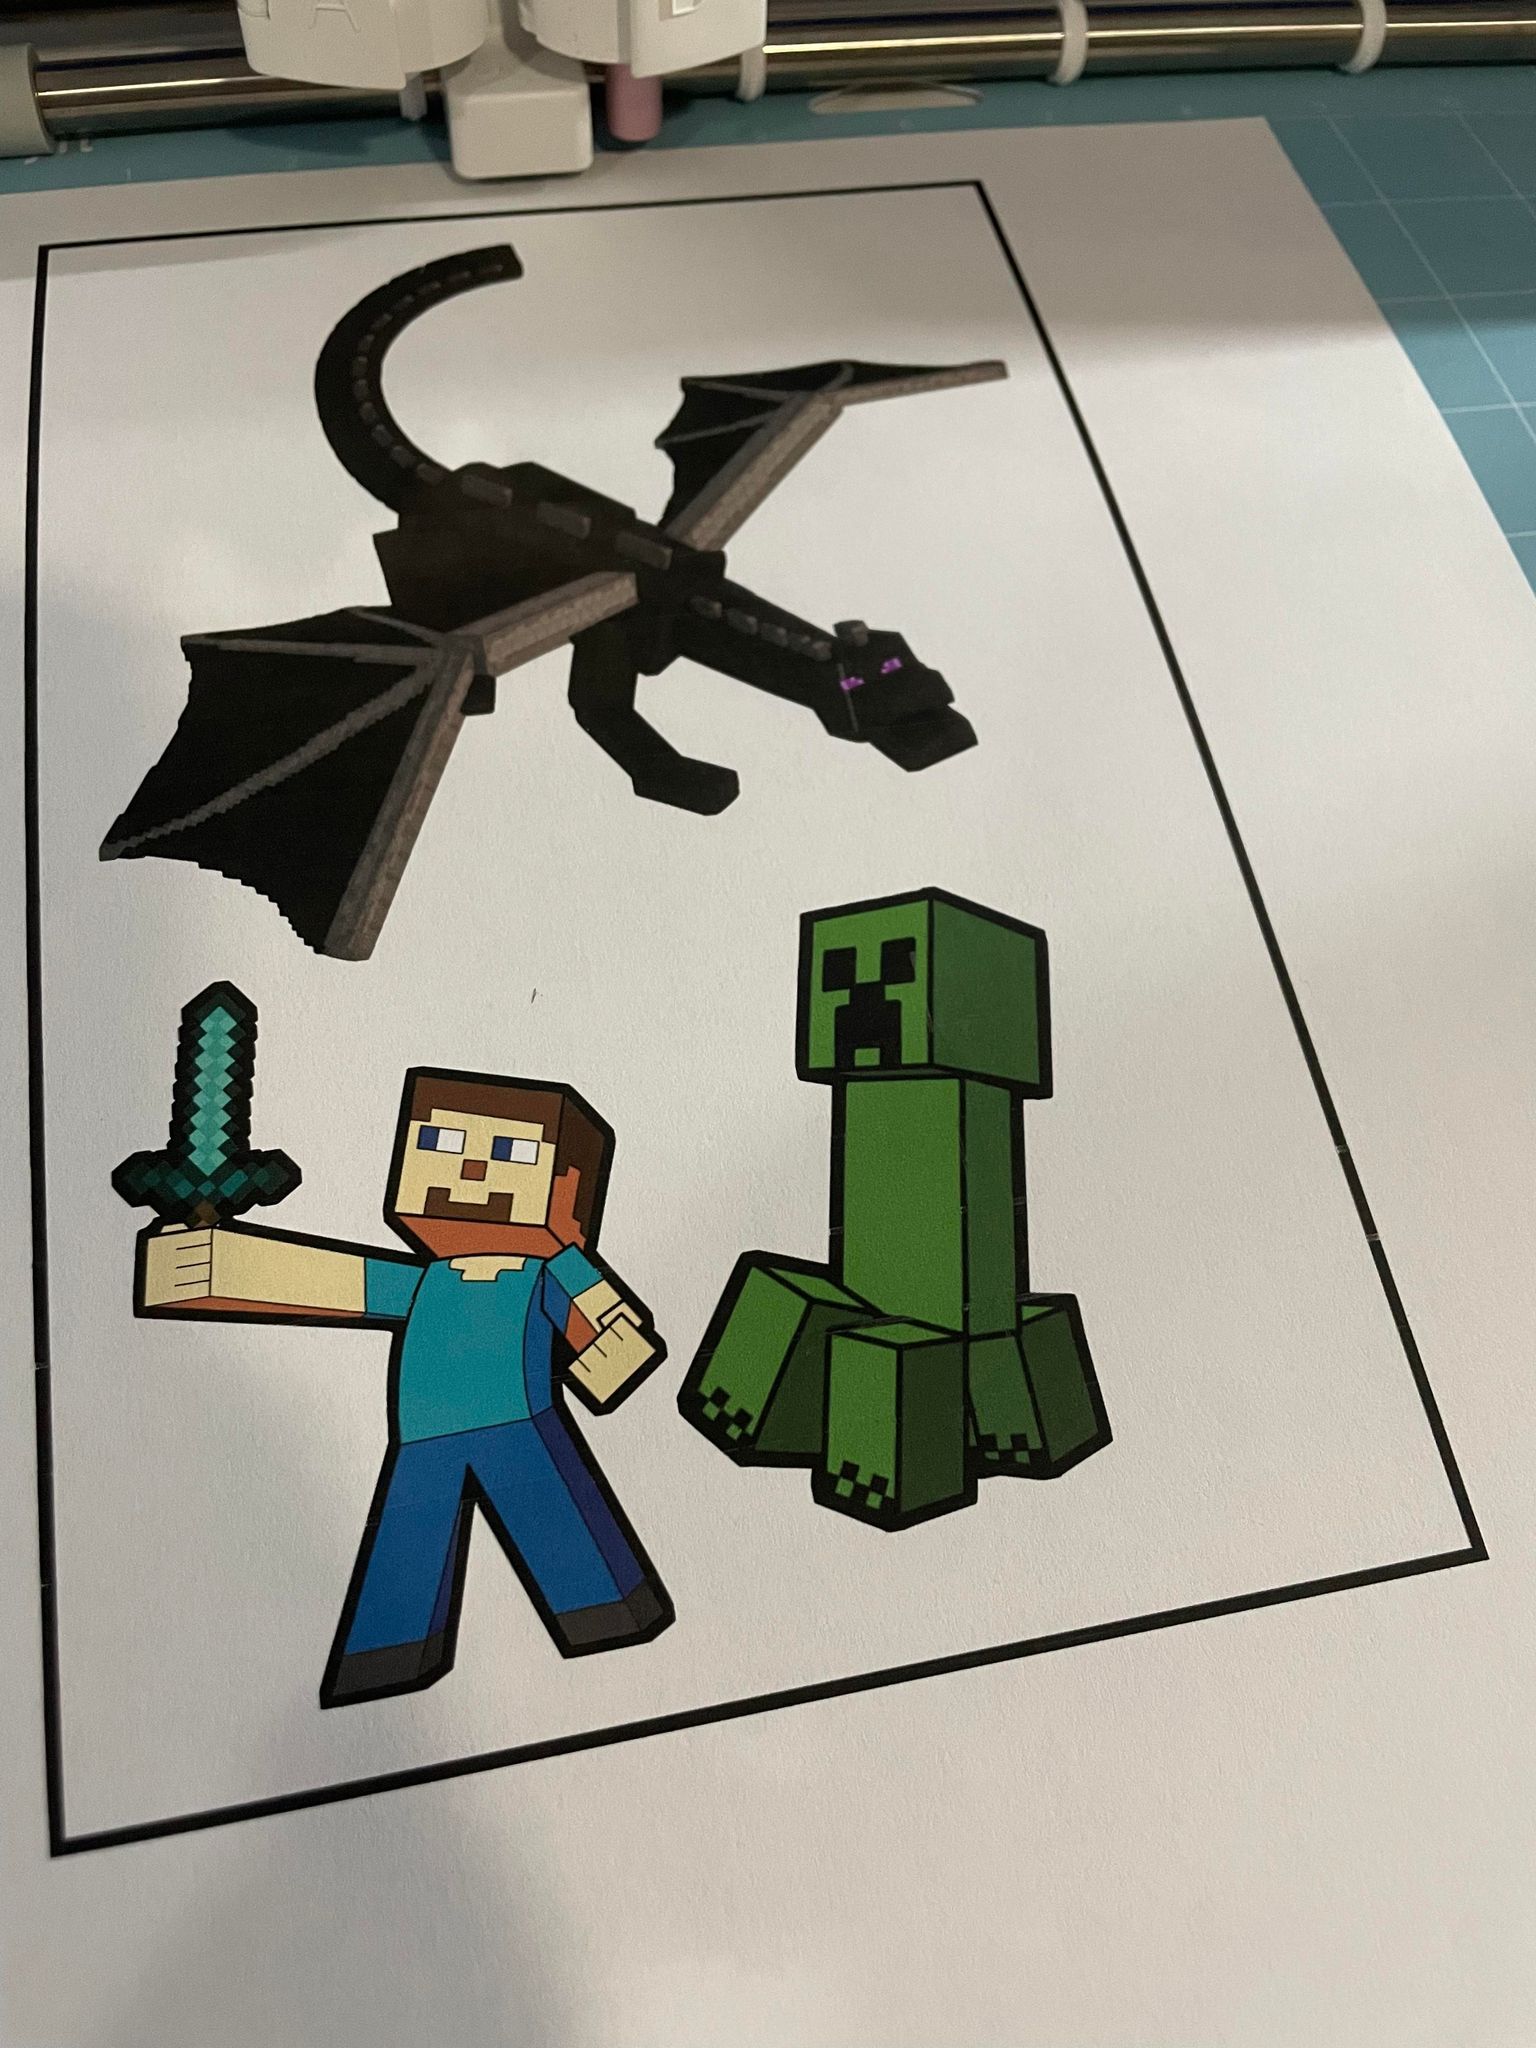
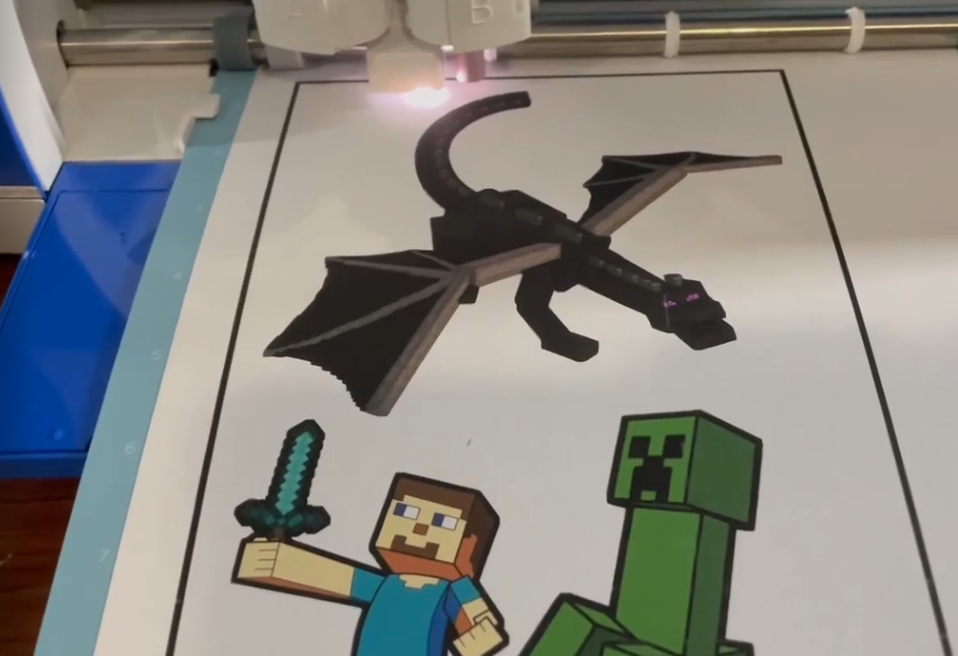
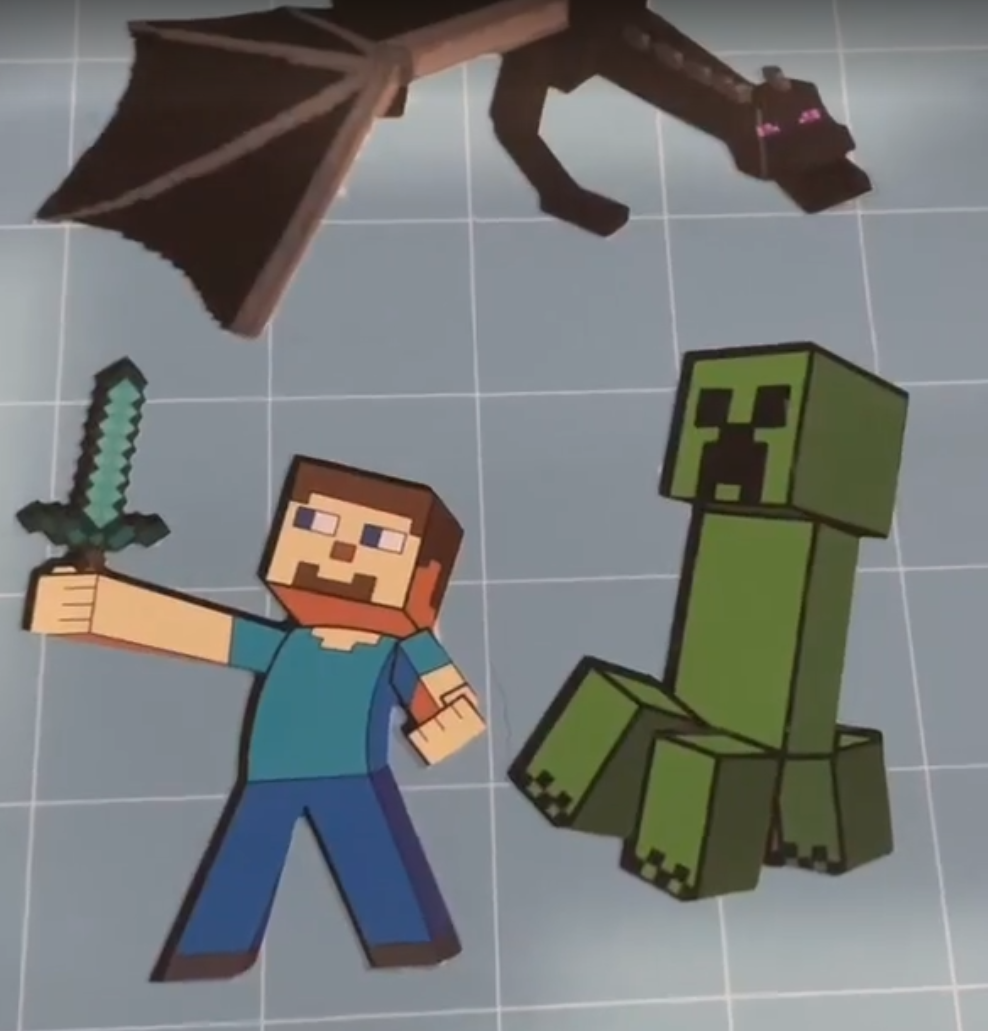
Using the foam adhesive gives a desired 3D effect to the Centerpiece. I also cut out a black background for all of my characters, because I realized that they would need some support to give them the 3D effect off of this gray background. Then, I used Cricut’s Print then Cut feature. I printed the three primary characters, and then cut them out using my Cricut Explore Air 2! It was super easy to do.
Once the characters were cut out, I used a glue stick to adhere them to the black backgrounds I had previously made, and then used foam adhesives, as before, to stick them to the centerpiece. The very last step, I cut some straws to desired lengths, and hot glued them to the back to give the centerpiece a way to stand on the cake.
All in all, it took about an hour once I had the design done to cut and paste everything together. It would probably go faster had my printer not been out of ink and two flights of stairs away from my Cricut! It was fully worth the time to see my son’s face light up when he saw his Minecraft cake and personalized cake topper.
