How to create a Minecraft Creeper with a bow in Design Space
Learn how to create a creeper with a bow in design space!


Around our house, we have a birthday tradition where the birthday kid gets to pick the theme. A few years ago, my son chose Minecraft. Part of our tradition is to have themed clothing. Minecraft was easy for my husband, as he already had a shirt, and I used a custom centerpiece design I made (I'll give information on that hack in a future post!) to create the t-shirt design for our son. But, he REALLY wanted his Mama and sister to have Minecraft shirts for his party. More specifically, he wanted us to have Creepers with a bow. So in this post, I will be describing to you how I created a creeper with a bow cut file in Design Space software (for use with my Explore Air 2). Check out the link at the end if you want to export the design to Design Space yourself!
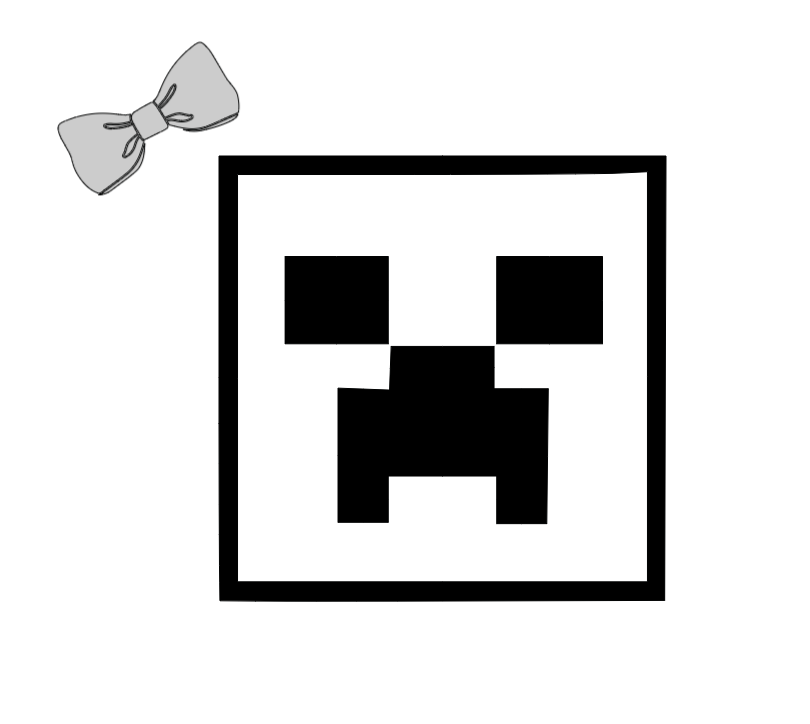
First, I found a creeper face icon and a bow I liked using a simple google search. I imported these very simple files into Design Space using the “upload” tool and removing any background.
Next, I used the offsetting tool to create a black margin around the bow. I wanted to have a black background to work with for the entire image.
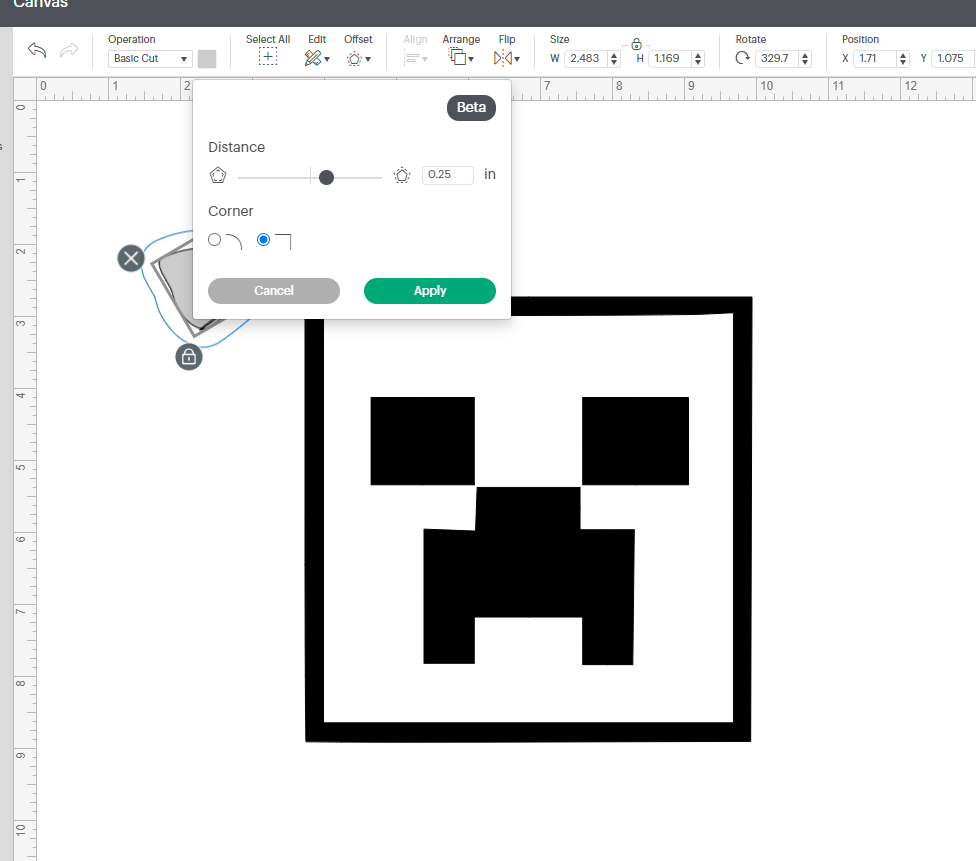
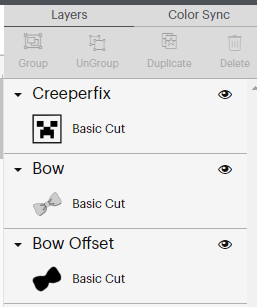
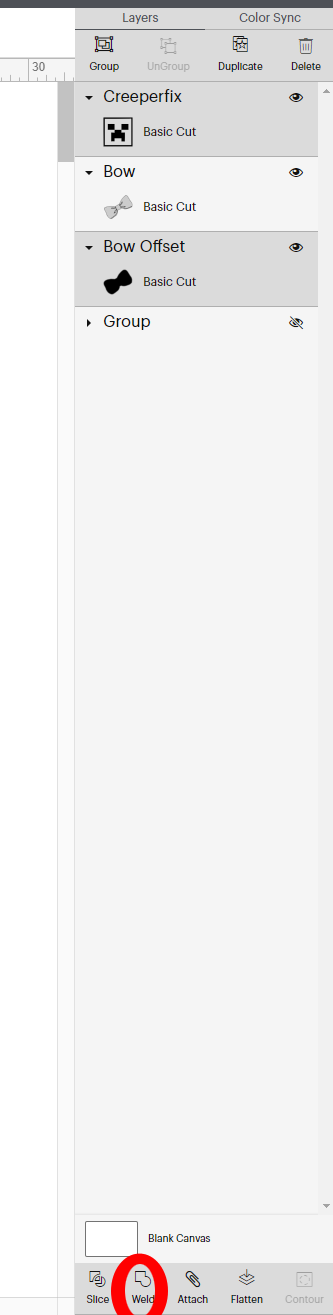
You can choose any amount of offset that works for you. In this example I just used the default 0.25 inch, but for the actual shirt I made, I did a thinner line. It is up to you! After creating the offset, you can see that there is a black background for the bow in your layers on Designspace. I next moved the bow to where I liked it on the Creeper itself and then selected both the “Bow Offset” and “Creeperfix” layers. You can do this by holding down the left mouse button and drawing a box around the layers you want, or hold the CTRL button down while selecting the layers in the layer display.
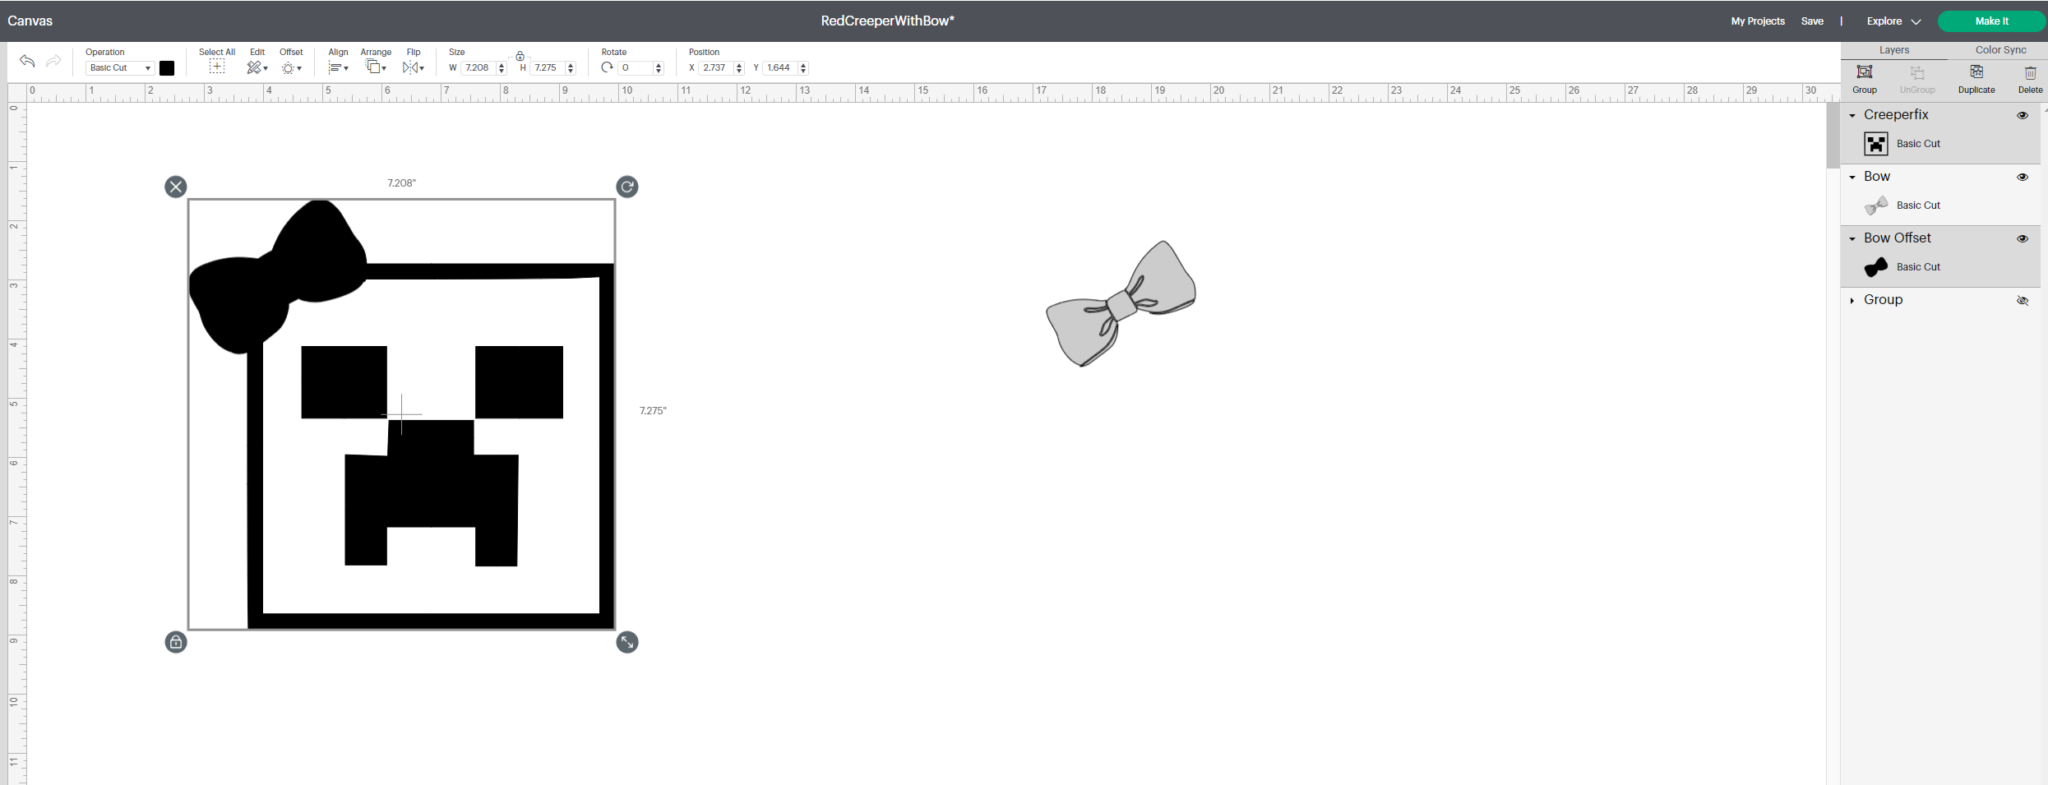
Once you have both layers selected, you can hit the “weld” button on the bottom of the sidebar as noted here (note, this blog post was originally from 2021 on my previous website, so design space has definitely changed a little, weld still exists! but you could also use "unite", I do not recommend that in this case because unite keeps the boundaries in the cut, whereas here you want it to be all one image. USE THAT WELD!):
Once those layers are welded together, you are nearly done! You can duplicate the image (right-click the image in layers and chose “duplicate”) and then you can use the contour tool to create layers. In this example, I removed all the inside contours on the black layer so that I had a solid black background, and then on the pink layer, I chose ONLY the inside contours, so that I could have the pink be the “face” of the Creeper.


As you can see, my choice for the creeper was glittery pink with a silver/pink glitter bow! But you could then choose any color you like for the creeper face (traditionally they are green) and bow. And now, before you even have to ask, I am happy to share my cricut project link for the Creeper with a Bow.